


Table of Contents Show
Who doesn’t love the changing of the seasons? Snow melting and increasing temperatures are major signs that the seasons are changing soon. We’re not talking about the change from winter to spring, but the shift from off-season to camping season! If you winterized your RV at the end of last season, you’ll need to get it ready to use for your adventures by dewinterizing it.
So if you’re looking for a complete guide to dewinterizing an RV, we’ve got you covered. Let’s get started!
What Does It Mean to Dewinterize an RV?
RV owners that live in cold climates have to prepare their rigs to handle the freezing temperatures. They’ll often remove all water from their water system and fill their water lines with RV-safe antifreeze to protect them. The process of dewinterizing an RV includes flushing out the antifreeze and loading any essential gear and supplies removed while the RV sat unused.
Dewinterization is also an opportunity to do routine maintenance. This can help you catch any issues that could cause problems during your adventures. You don’t want to have an issue pop up in the middle of the camping season and affect your travel plans.
When Should You Dewinterize Your RV?
When you dewinterize your RV will depend on the weather where you live. You want to wait until the days of freezing temperatures are behind you. If you dewinterize your RV too early, you can leave it unprotected should the temperatures drop. Once spring arrives, much of the country is typically able to start dewinterizing their RV.
Keep in mind that most RVs can handle sub-freezing temperatures to some extent. If the temperatures dip slightly below 32 degrees overnight, you’re not likely going to cause any damage.
The extreme temperature often drops into the 20s overnight, and temperatures not rising above freezing during the day often cause the most damage.
Learn More: Did the cold weather sneak up on you? It happens! Here’s How to Handle an RV One Night Freeze in Your RV.
How to Dewinterize Your RV
How you dewinterize your RV will greatly depend on your RV. Some RVs are easier to dewinterize than others, but the process is relatively painless. You can typically dewinterize an RV with the proper set up in a few hours.
For specific instructions, check the documentation that came with your unit. Let’s look at what you should expect to do and keep an eye on when dewinterizing an RV this season.
The Water System
One of the essential tasks of winterizing an RV is to protect the water system. Freezing water can damage water lines and sensitive plumbing connections. Reference the documentation for your specific RV for dewinterizing your water system.
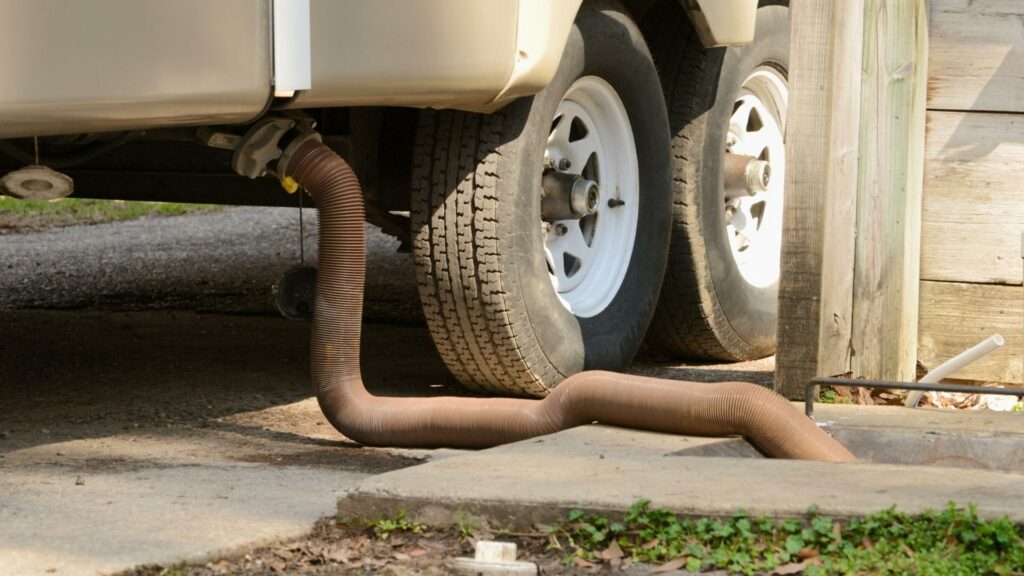
To effectively dewinterize your water system, you’ll need access to water and a spot to dump your tanks. If you don’t have these available, it may be worth booking a campsite with full hookups for a night to get it ready.
Drain the Antifreeze
While RV-safe antifreeze won’t harm you, you want to get it out of your water system. When dewinterizing your RV, connect it to a water source and run water through all the faucets, toilets, and showers you previously winterized.
You’ll first notice the water is a deep pink color, but the more water you run through the system, the more the pink color will fade.
If you drink the water from your water system, you may notice a different taste for a bit. There’s nothing to worry about as, when used as directed, RV antifreeze is non-toxic (it’s not to be consumed directly). The taste will eventually fade, and you should have normal-tasting water in no time.
Flush and Sanitize the Fresh Water System
Even though you’ve already drained the RV antifreeze, you want to flush and sanitize your entire freshwater system. This helps kill any bacteria growing in your water system and can ensure you can consume water from your RV.
Many RVers use a process similar to winterizing their RV to sanitize their system. However, instead of filling their water lines and fixtures with RV-safe antifreeze, they’ll siphon a bleach-water mixture through the system.
You’ll need to fill your freshwater tank to kill any bacteria growing in the tank. Because the bleach-water solution is clear, you’ll want to open each fixture until the odor of bleach is evident when running water through the fixture. Once all fixtures are set and the solution is in your entire system, you’ll need to let it sit for 6 to 12 hours. Make sure not to use any of the faucets in the meantime.
Once the bleach-water solution has been able to sit in your system, you’ll need to flush out your entire system. Run your water pump to pump the water out of your freshwater tank.
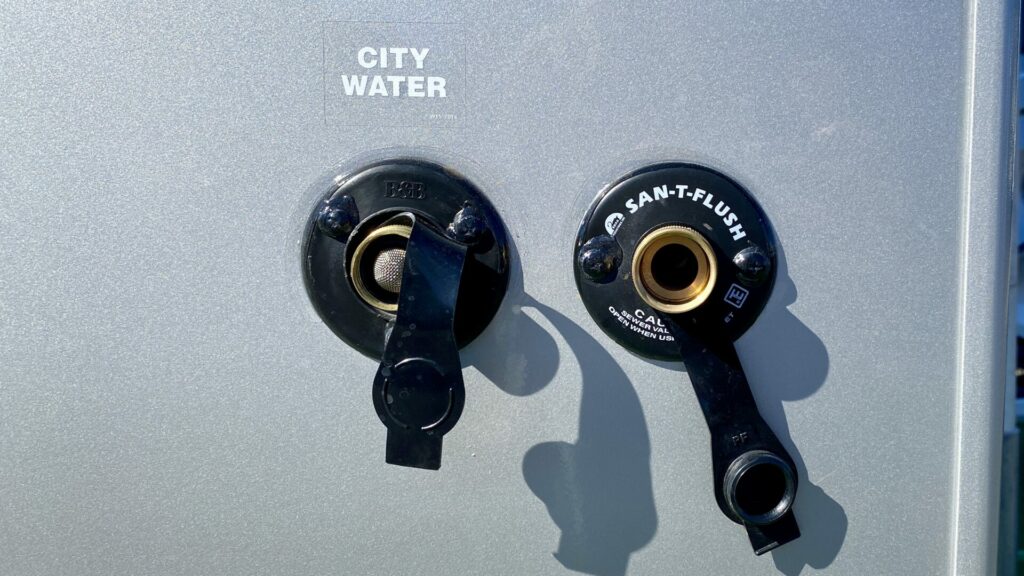
Once you drain it, you can connect a water hose. Use your RV’s city connection to flush out your system until the smell of bleach is no longer present when running water through your fixtures or flushing toilets. Don’t forget those outside kitchen sinks and outside showers when dewinterizing your RV!
Keep in Mind: Before stopping by Gander RV to pick up those extra supplies, there are a few things you should know. Check this out before shopping!
Reconnect the Water Heater
Now that you have sanitized your water system, you can reconnect the water heater. You don’t want to fill your water heater with the bleach-water solution as bleach is very corrosive to metal. RV water heaters are typically made of sensitive metals, and bleach will cause damage and reduce its life.
Ensure you have water in your water heater before turning it on. Doing so can cause permanent damage to the heating element. You’ll either have to settle for cold showers or replace the water heater.
Most water systems bypass the water heater by using specific knobs attached to the water lines. Manufacturers often place stickers on the casing of the water heater to let you know the appropriate settings for bypassing and reconnecting the water heater. When in doubt, check the documentation or contact your RV’s manufacturer.
Heating and Electrical
Inspect your heating and electrical systems while dewinterizing your RV. You’ll use these essential systems in varying capacities throughout the season. You should examine all heating vents for any signs of critters making nests in them and frayed wires or teeth marks from rodents.
If everything looks good, run your furnace for a few minutes to confirm it’s functioning correctly. It’s normal for there to be a burning smell at first as the system burns off dust and other particles that gathered on the heating elements while it sat in storage. Open the windows and roof vents to air out the RV and get the foul smell out.
If the burning smell doesn’t go away after several minutes, turn off the furnace and have it inspected. An RV’s heating and electrical issues can cause serious problems and potentially even a fire. Due to its construction, an RV and its contents can burn to the ground in minutes. So, take any burning smells very seriously.
Reinstall Your Batteries and Charge Them
Hopefully, you stored your RV batteries correctly during the off-season and can be used after dewinterizing. You should have checked the water levels (if applicable) and fully charged them before storing them in a warm and dry place. Failing to do so could mean you now have a battery that is nothing more than a very heavy paperweight.
If you stored them correctly, you need to reconnect them. Be attentive during this process and connect the battery cables to the correct battery terminals. Inattention during this step can cause severe damage to your battery and your RV’s entire electrical system.
Once you connect the battery, you can go through the RV to check and confirm all the lights and 12-volt appliances are operating correctly. If not, now is the time to fix them. Failing to address any issues could cause issues with your future camping adventures.
Pro Tip: Looking to upgrade your RV batteries this camping season? We highly recommend lithium batteries. Read our guide for How to Choose the Best Lithium RV Battery!
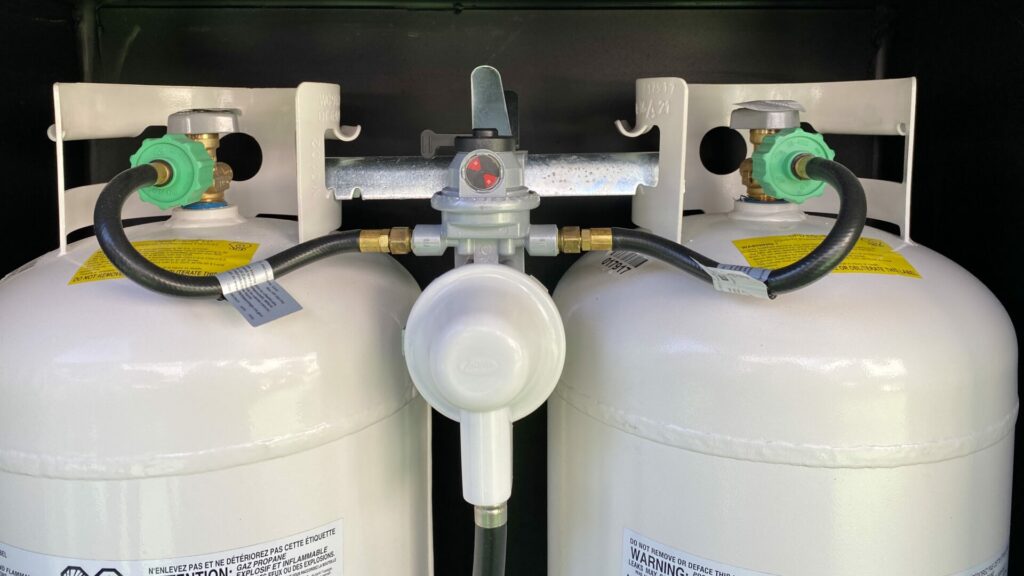
Check the Propane Tank for Leaks and Refill
You’ll need your propane system for cooking, keeping your RV warm, and potentially keeping your RV refrigerator cold. You’ll want to ensure your propane tank(s) have propane in them.
One of the easiest ways to check them is to pick them up and feel their weight. You’ll most likely be able to tell the difference between a propane tank with propane and one without.
You don’t need a full tank at this point; a minimal amount will do. However, this is also a great time to get your tanks filled for the season.
Turn the knob on top of the propane tank and look for any obvious signs of a propane link. Turn on propane appliances and burners one at a time and ensure they’re working correctly and without leaks.
If you smell a strong propane odor, you should immediately turn off the flow of propane and have your propane system inspected by a trained professional.
Run Your Generator
If you have a generator, check the fluid levels, potentially change the oil, and run it. It’s a good idea to run it for 20 to 30 minutes to lubricate all sensitive parts.
Make sure you put a load on your generator to give it a good workout. Turn on an air conditioner or electric heater to make it work. Look and listen for any indications that something isn’t running correctly.
Other Items to Check
There are a handful of other important items that you will want to check when preparing your RV for the next camping season. Let’s take a look!
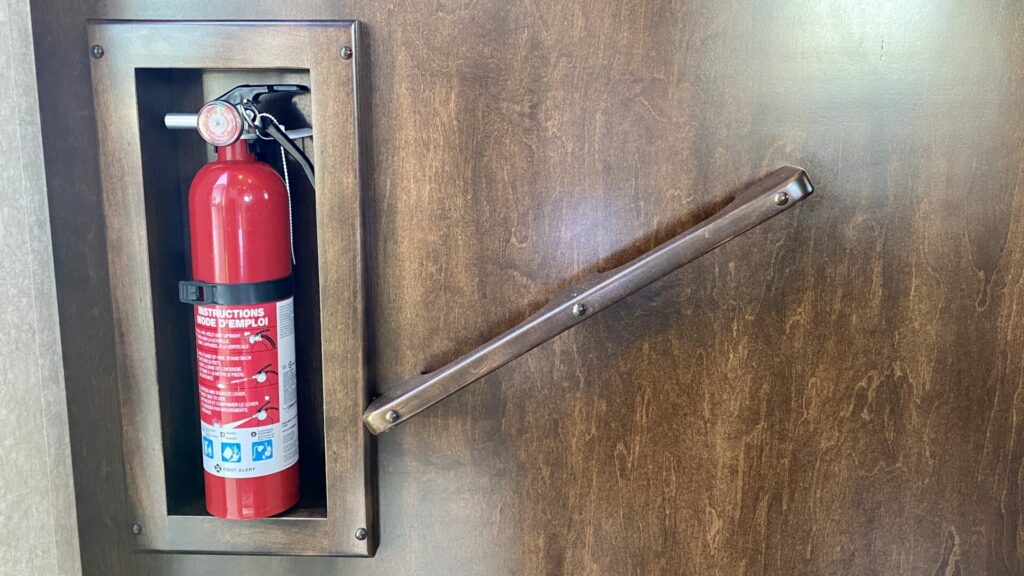
Check Your Appliances and Safety Devices
You should make sure all appliances, smoke detectors, and safety devices are functioning correctly. Replace batteries or restock your battery supply to ensure you never have to go without a battery in any battery-powered safety devices like smoke detectors.
Having trouble with any of your appliances? It’s a good idea to have them looked at as soon as possible. If you’re dewinterizing your RV, there’s a good chance other RVers across the country are too.
You don’t want to deal with supply shortages or technician schedules completely booked if you need to replace an appliance or have a technician come to your RV.
If Your RV Has a Motor, Check Your Fluids
RVers with drivable RVs will want to check and top off fluids. This is a great time to check the levels on everything from windshield washer fluid to oil. If you need any liquids professionally changed, now is the time to do it.
Inspect the Exterior
A leak in an RV can go unnoticed for quite some time and cause massive damage. The key to avoiding leaks is to diligently inspect your RV’s exterior. You want to examine all the seals on the roof, around vents, and windows. Look for any cracks or evidence of aging in the sealant. Many manufacturers require regular inspections of the roof and seals, or they’ll void warranties.
It’s important to inspect every inch of your RV. Getting familiar with it is the best way to spot potential issues as quickly as possible. You’ll be able to notice even small changes in your roof or walls the more you inspect them.
Maintenance Tip: If you find any cracked or peeling sealant during your inspection, this is a great time to reseal! Check out Which RV Roof Sealant Is Best? Here Are 10 Great Options.
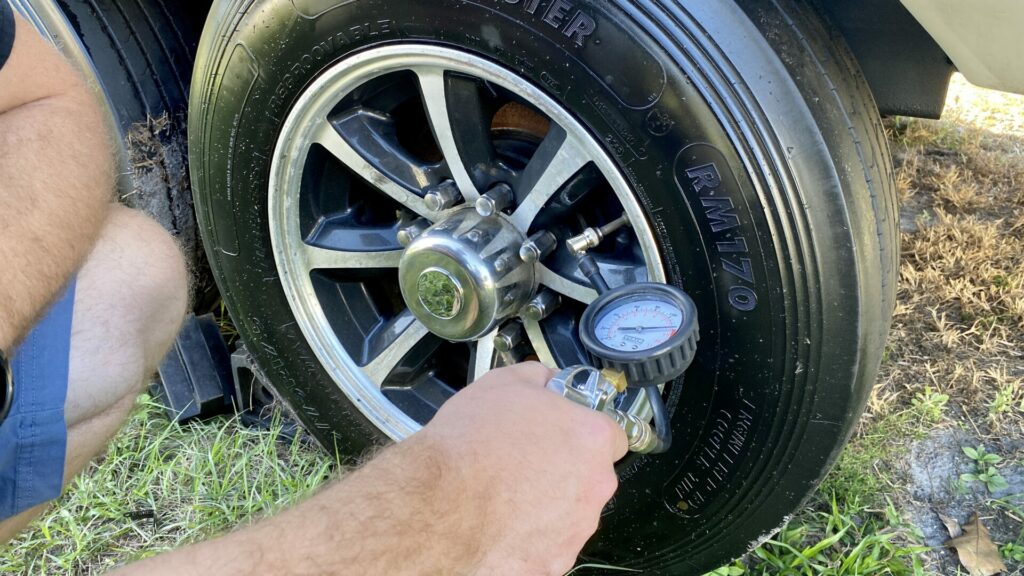
Inflate And Check the Tires
The tires on your RV have a very important job. You’ll want to inspect them for any signs of aging and ensure that they’re at the proper pressure levels. Driving on underinflated tires, even for short distances, is very dangerous. Tire blowouts can cause massive amounts of expensive damage to an RV.
Signs of aging tires include cracking and low tread depth. While tires can last for thousands of miles, many RVers don’t put massive amounts of miles on their tires. You should replace your RV tires at least every six years, no matter how many miles are on them.
Get Your RV Ready to Hit the Road
Dewinterizing your RV for the upcoming camping season can be exciting. It’s easy to rush through the process as you daydream about your upcoming adventures and the memories you’ll make.
However, you can do more harm than good if you rush through this process. Take your time, and make sure you do it well before your first planned trip. You want to have plenty of time to address any issues so they don’t cause you to change your plans.
When do you usually dewinterize your RV?