


Table of Contents Show
Do you miss soaking in a hot soak in the bath after a long day of driving and exploring? You may be surprised to learn that RV bathtubs are not the same as standard bathtubs used in houses. Usually, when you think of a bathtub the image of a large heavy white tub comes to mind, right? So how does that work in the confined and weight-conscious space within an RV?
Let’s dive in and see how you can add a little luxury to your life on wheels by installing one of these RV bathtubs.
How Is an RV Bathtub Different from a Normal Bathtub?
You may think any bathtub can work as long as it fits, right? Unfortunately, this isn’t the case. You need a bathtub specifically designed for RVs. These utilize lighter materials, which decreases any unnecessary weight. RV bathtubs often employ sturdy plastic, which is much lighter than porcelain while still holding up well.
Can You Add a Bathtub to Any RV?
If you want to replace a shower with a bathtub in your RV, make sure it fits. It’s just like bathroom renovations in a home. The bathtub will be smaller than you might be used to because it has to fit in a tighter space. However, it should still fit an average-sized adult. Some argue for showers only in order to conserve water, but it all comes down to how you want to ration your water.
The Best RV Bathtubs for a Bathroom Upgrade
The nice thing about RV tubs is that they’re super light. This makes them easy to carry, with no fear of dropping or damaging the goods. They’re also pretty simple to install, which makes them a good option for DIY remodeling.
Lippert 209658 Better Bath RV Bathtub
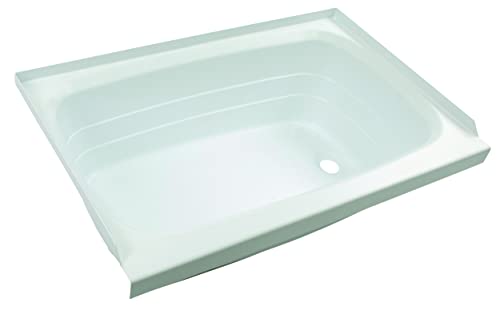
- DURABILITY — Crafted meticulously from scratch-resistant ABS acrylic, our products ensure unparalleled longevity,...
- STYLE OPTIONS — Elevate your RV or home shower and tub experience by selecting from a diverse range of upgrade...
About: This acrylic tub is great for tight spaces. It uses durable white plastic and costs about $140. It’s very light at 9.16 pounds and measures 36 x 24 x 5 inches.
Best For: The Lippert Better Bath is a lightweight tub and good for full RV bathrooms. It’s a classic style that works well with bathroom upgrades, especially after buying a used RV. It’s easy to install and shouldn’t take more than a day of effort.
RV Bathtub | Durable Replacement 40″ x 24″ | Camper Trailer RV Tub | Alpha (White)
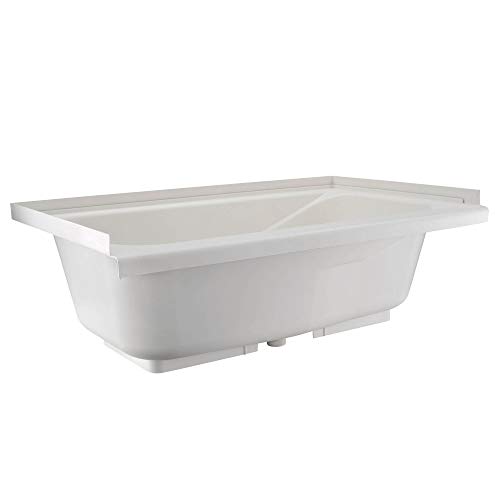
- Style lines for increased structural integrity.
- Colors – White and Parchment
About: This tub has the extra structural integrity to prevent any leaks. The molded-in drain threads also help keep this tub as sturdy as possible while still fitting into a smaller bathroom. It costs about $135 and measures 48 x 26 x 20 inches.
Best For: The RV Bathtub is light enough to carry easily yet sturdy enough to hold the weight of a grown adult. It’s a great thing to have in your RV when you want to relax after a long day of hiking. You can even install it yourself.
ICON 00476 Sit-in Step Tub with Right Hand Drain TU500RH — Polar White
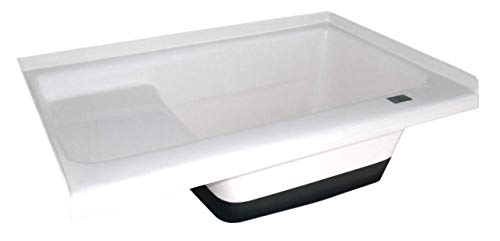
- Drain Style: Right hand
- Bath Tub Color: Polar White
About: This tub is just the right size for an RV bathroom and looks very classy. The dimensions are 36 x 24 x 13 inches, and it weighs 13.42 pounds. It is pricier at nearly $200, though. ABS plastic reinforces the bottom for extra durability and comfort.
Best For: The drainage hole is already molded into the tub, speeding up the installation process and making this a great choice if you’re nervous about DIY projects. There’s also a seat in the tub, which is perfect for parents who want to sit while bathing their kids. In the Icon 00476 tub, you could also just soak your feet, especially if you want to conserve water and avoid filling the tub completely.
How to Install an RV Bathtub
Installing a new tub may seem like a daunting task, but don’t get overwhelmed. All it takes is 10 simple steps. And while some steps may take longer than others, this list will keep you on track.
Gather Your Tools
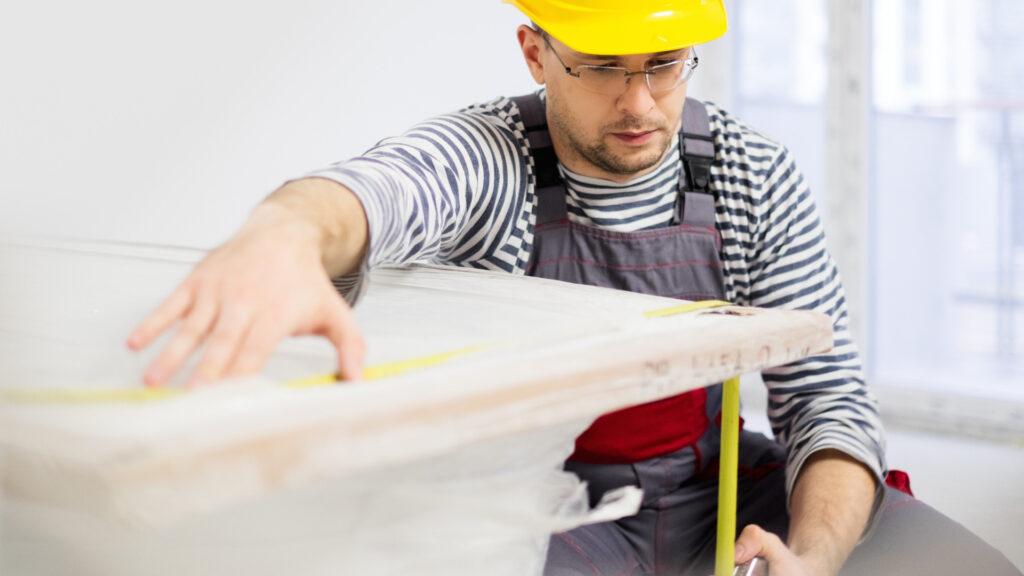
Bring out the tools! Measure everything carefully before getting started, so you know if your new tub will fit. Get your new fixtures and plumbing ready to go, as well as any adhesive you may be using. You’ll also need a screwdriver for the surround and fixtures and possibly a drill to cut the hole in the new tub for the drain. The better prepared you are, the less chaotic this renovation will be.
1. Remove the Shower Bar/External Accessories
The shower bar should be very firmly attached to the wall with adhesive, so it might take some extra strength to get it out. Once you get that off, you can fold up the curtain if you plan on reusing it. You could also just plan on replacing everything for a whole new look.
2. Shut Off Water and Remove Fixtures
Knowing where your water supply is in your RV is helpful whether you’re renovating or not. Removing the RV bathtub won’t be safe until you turn off the water. Otherwise, you could cause flooding. You can also remove any other fixtures you might have that could get in the way.

3. Rip Out the Tub Surround and Retainer Strip
You probably can’t replace the tub without cracking and damaging the surround and retainer strip, so it’s better just to plan on replacing those as well. Take a sharp knife or box cutter and trace along the caulk. It should fall right out. It’ll be messy, but it’ll look great once it’s finished.
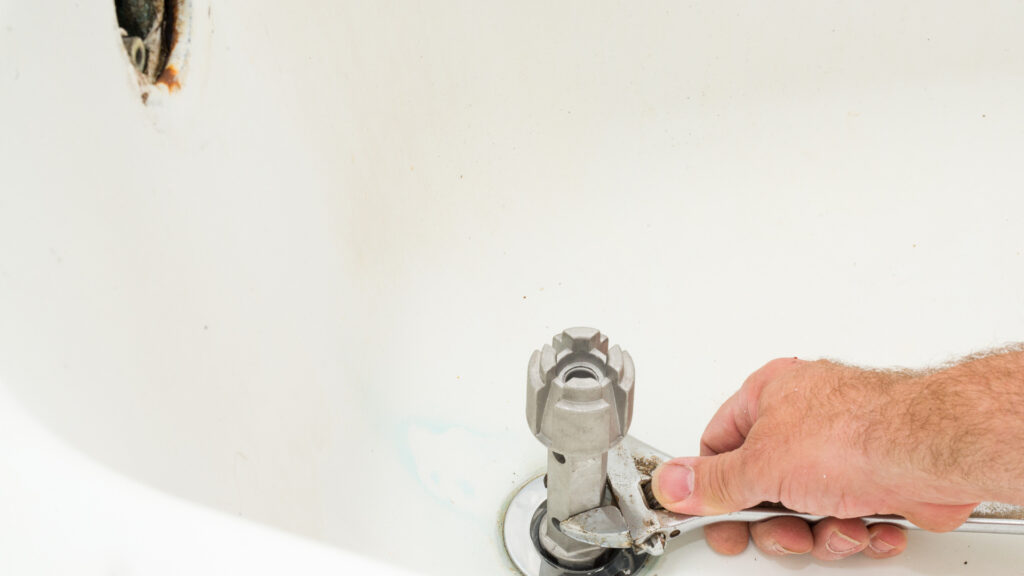
4. Remove the Drain
One easy way to remove a drain is to insert a pair of pliers, then grip those pliers with a wrench. When you turn the wrench, the pressure from the pliers will pop the drain right out. However, if that doesn’t work, you might need to go straight to the source and remove it from beneath.
5. Remove the Tub
Once you get the old drain out of the tub and unscrew the plumbing, the tub should come right out. Just pull and lift. As long as it’s not still attached to the surround or the drain, nothing is holding it in place.
6. Attach Drain to New Tub
It’s important to do this step correctly. Otherwise, you could flood the bathroom once you turn the water back on. You can actually insert the new drain and tighten the plumbing before you even install the new tub. Make sure it’s nice and tight, so you don’t have any leaks.
7. Install New Tub
Set the new RV bathtub in place and make sure it fits properly. Even when you measure everything properly, sometimes things just don’t fit the way you expect. Once you settle the tub in, finish attaching the plumbing. It should hold the tub in place without shifting around.
8. Install Enclosure
Place your new surround against the wall with a fresh retainer strip. The surround should be pretty lightweight, so be careful you place it correctly, and it doesn’t shift around. You can use adhesive tape, gorilla glue, and screws to help keep it secure.
9. Replace All Plumbing and Fixtures
If you’re replacing the tub, it’s likely the faucet also needs an update. And you might as well get a showerhead if this tub is doubling up as a shower. It’s nice to have the same material for all the fixtures in the bathroom, so everything matches and looks put together.
10. Replace Seal
Add some caulk along the tub’s edges to keep it extra secure and protect the bathroom from water damage. This will take a steady hand and some drying time, especially in a wet environment. Once it’s all dry and cleaned, turn the water back on and enjoy your new bathroom.
Sometimes you just really need a nice hot bath at the end of the day, especially if you’ve been hiking and exploring. Camping and comfort may not always go hand in hand, but having a bathtub in your RV (even a small one) can make your home on wheels cozier. If you’re up for a new DIY project and want to make some upgrades to your bathroom, a new tub is a great choice. Have you ever replaced your RV bathtub?
Last update on 2024-07-26 / Affiliate links / Images from Amazon Product Advertising API
