


Table of Contents Show
Benjamin Franklin once said, “Nothing is certain, except death and taxes.” However, if you’re an RVer, it’s more like death, taxes, and RV maintenance.
While some maintenance tasks can wait, keeping your trailer bearings greased is not one of them.
If you’re anything like most RVers, your bearings are probably long overdue, especially if you can’t remember the last time you had it done. So how often should trailer bearings be greased?
Let’s dig in and get to the bottom of it.
What Is Trailer Bearing Grease?
Trailer bearings are inside the hub of a wheel on a trailer. These bearings help ensure the wheel assembly spins correctly and smoothly.
However, these wheel bearings require grease for them to function correctly. Without the grease, the tires won’t spin efficiently and could seize up or generate heat, which could cause a fire.
Can You Grease Your Trailer Bearings Yourself?
If you are mechanically inclined, you can grease your trailer bearings yourself. However, it’s important to note that many RVers attempt to do this themselves and fail. If you don’t know what you’re doing, hire a professional.
Putting too much grease or getting grease onto your brakes can be extremely dangerous. You’ll likely pay between $50 and $75 per wheel at most shops that can do the job. However, knowing that your trailer bearings are greased correctly is worth every penny.
How Often Should Trailer Bearings Be Greased?
You should grease your trailer bearings once a year or every 10,000 miles. However, smaller trailers with smaller wheels require more frequent intervals depending on the size of the tires. However, it’s typically between 2,000 and 6,000 miles for these trailers.
As we said earlier, the average RVer doesn’t stay current on keeping their bearings greased. Not keeping them greased could leave you stranded at a campsite or on the side of the road. Trust us; this is one maintenance task you don’t want to put off.
Don’t let an expensive towing bill be the final straw for you to stay on top of your maintenance. If you can’t remember the last time you greased your trailer bearing, call and make an appointment today.
How to Grease Trailer Bearings
If you’re mechanically inclined and have the space, there are some things to get the job done. You’ll need a trailer jack, paper towels, new seals, cotter pins, a hammer, a chisel, a torque wrench, a high-temperature wheel bearing grease, and a grease gun.
You might need to purchase some of these items the first time you grease your trailer bearings, but you’ll have them for the next time you need them.
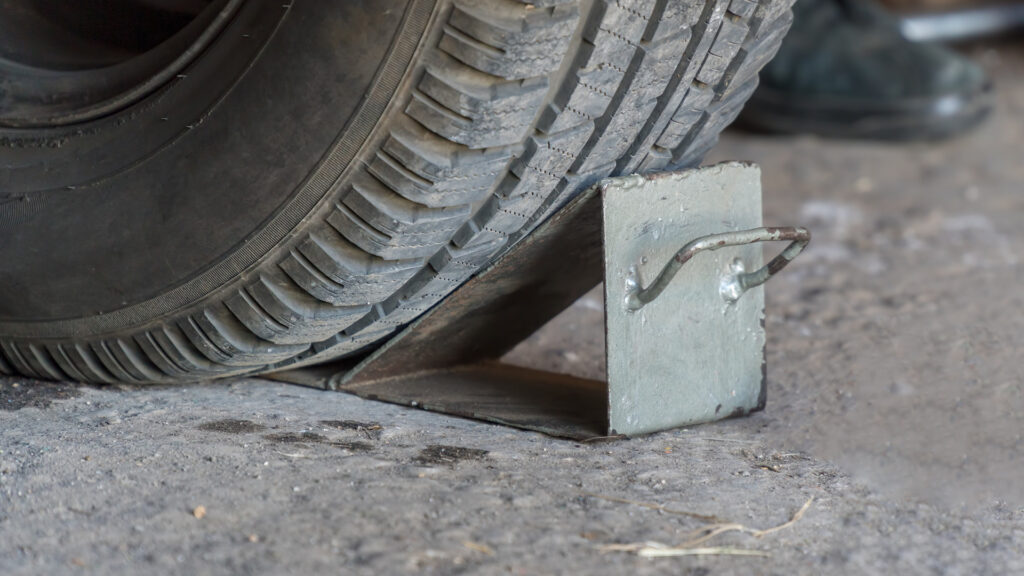
Lift Trailer and Support with Jack Stands
You must put wheel chocks on both sides of your tires. This helps ensure your trailer stays in place and doesn’t move on you.
Once the trailer is securely in place, use a jack to lift the trailer and place the jack stands under the trailer for extra support.

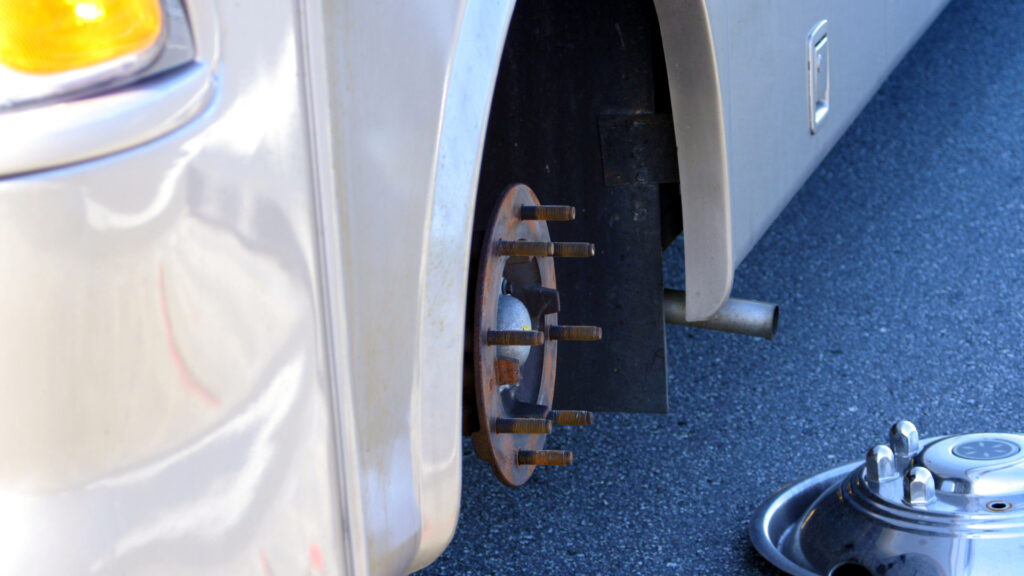
Remove Wheel and Dust Cap
You’ll need a hammer and chisel to remove the dust cap gently. After removing the lug nuts from the wheel, pull it off the assembly.
At this point, we recommend taking a picture of the entire assembly. This will come in handy later when you need to reassemble it. You’ll end up removing several pieces you must put back in the same place and order to function correctly.
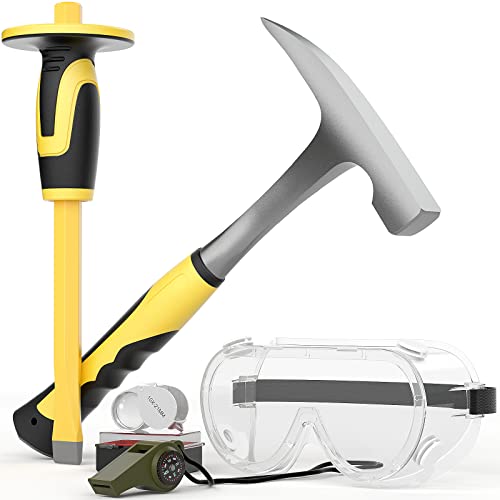
- Value Package: Come with a 32 oz. rock pick hammer, 1pcs mason chisel and 3 in one whistle (thermometer, compass)...
- Stainless Steel Rock Pick Hammer:Drop forged one-piece all steel head-handle construction with fully polished finish and...
Remove Cotter Pin and Hub
Now that you’ve removed the dust camp and wheel, you’ll have access to the spindle nut and cotter pin. Use a pair of needle nose pliers to grab the cotter pin to remove it. Depending on the condition of the cotter pin, you may need to replace it during reassembly.
Once you remove the cotter pin, use a screwdriver to pop the spindle nut out. This will loosen the hub and allow you to remove the rest of the assembly. Place all the pieces neatly on the side on newspaper or clean rags.
Pro Tip: Wanting to level your RV like a pro? You will be after reading these these leveling tips!
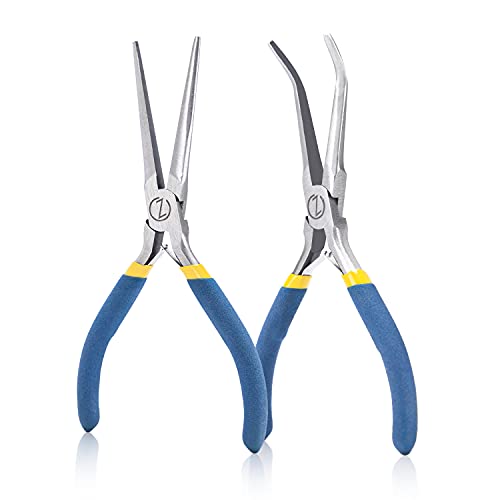
- 𝗪𝗵𝗮𝘁 𝗬𝗼𝘂'𝗹𝗹 𝗥𝗲𝗰𝗲𝗶𝘃𝗲: Needle nose pliers set including 1*45 degree angle...
- 𝗟𝗼𝗻𝗴 𝗟𝗮𝘀𝘁𝗶𝗻𝗴 𝗠𝗮𝘁𝗲𝗿𝗶𝗮𝗹: Mini needle nose pliers are made of...
- ☞【ERGONOMIC DESIGN】The screwdriver set features an oversized handle design with a non-slip grip to reduce hand...
- ☞【MULTI-BIT SCREWDRIVER】Includes industrial strength heat treated bits : PH2 CR-V 1/4,PH1 CR-V 3/16,T15 CR-V...
Remove Bearing and Seal
The bearings sit inside the hub and may pop out on their own. If not, use a wooden dowel and hammer to softly tap on the bearing to loosen it. If the bearing is dry, it may be challenging to remove.
You can use some WD-40 to help loosen it and make it easier to remove. Use a screwdriver to get some leverage if necessary.

- Everything you need in a professional-grade Penetrating Lubricant: Low-odor, Strong, Fast, and Targeted. WD-40...
- Fast-acting formula breaks rust and corrosion that jam up parts and leaves behind a protective layer that prevents...
Pack Grease in Bearings
It’s time to clean the bearings to remove all of the old trailer bearing grease. Use mineral spirits, acetone, or kerosene to soak the bearings for approximately 10 minutes.
While you’re letting them soak, wipe down the races and spindle nut of the old grease. You want to get as much of this off as you possibly can. Once the bearings have soaked enough, wipe the excess grease off them as well.
You must replace the grease seal on the trailer bearings every single time you pack your bearings. Make sure you have enough grease seals for each wheel of your trailer.
You need to be careful when packing the bearings with new grease. Wear gloves to avoid getting it on your hands and creating a massive mess. Use approximately a tablespoon of it and push it through the bearings.
You must rotate the rollers and bearings as you do this to thoroughly cover each gets covered in grease on both the inside and outside.

- U.S. Art Supply Odorless Mineral Spirits / Thinner - Is a Premium highly refined solvent formula that effectively thins...
- Excellent cleaner for paint brushes, tools and equipment immediately after use of oil-based paint products

- 🌟 PROFESSIONAL NAIL POLISH REMOVER: Our acetone 100 percent gel remover is formulated to gently remove nail polish,...
- 🌟THE ONLY ONE YOU NEED: Pronto Pure Acetone easily removes nail polish, gel or shellac polish, sculptured nail forms...

- Optimal Performance: Ensures kerosene-powered appliances run efficiently
- Broad Utility: Ideal for use with any Coleman Kerosene appliances
Reassemble the Hub
Once you’ve packed the bearings, it’s time to reassemble the hub. Use the picture(s) you took during the process to ensure that everything is going back on in the correct order. You don’t want to find yourself with extra parts you forgot to reattach when you’re finished.
When placing the bearings back into the hub, use the wooden dowel and hammer again. Lightly tap them into the hub until they pop back into place. Take your time and tighten each part. Don’t forget to replace the cotter pin if necessary.
Secure Dust Cap and Wheel
Place the wheel and dust cap back onto the assembly. Tighten the lug nuts and use a hammer to secure the dust cap to the wheel.
With the trailer jacked, it won’t be easy to tighten the lug nuts completely. However, we’ll take care of those in a second.
Lower Trailer to the Ground
Once you lower the trailer back to the ground, you can use the trailer’s weight to help you get leverage to tighten the lug nuts.
Once you’ve tightened them, use a torque wrench set to your trailer’s specific lug nut rating to ensure they’re tight. You don’t want any of these coming loose while traveling down the road.
Keep in Mind: Knowing how to adjust trailer brakes is essential ! But How Do You Adjust the Sensitivity on Your Trailer Brakes?
Is Trailer Bearing Grease Worth It?
Ensuring you have sufficient trailer bearing grease for your wheels is essential.
If not, you could cause serious damage to your trailer, and your RV adventures could potentially go up in smoke. RV fires have occurred due to owners not maintaining their rigs, and we don’t want you to be one of them.
So make sure you add this important task to your maintenance schedule. Since trailer bearing grease can be a messy and complex job, we recommend most RVers leave this one to the professionals.
Last update on 2024-07-26 / Affiliate links / Images from Amazon Product Advertising API


Ive read thru the instructions on bearing repacking and installation and one critical part of the instructions was missing . you did not include the bearing preload and end play of the assembled wheel hub this is a very critical component and an over tightened bearing will fail or a loose one will also fail.. 0.010 endplay is an industry standard. FYI
I read through this article and encourage everyone to pay to have your wheel bearing packed by a professional. I have a degree in Automotive Technology, was a GM Master Technician and am now a heavy equipment mechanic for a major railroad. I have been a professional technician for nearly 38 years.
My review, if you follow the instructions in this article to repack your own wheel bearing, you will absolutely have a catastrophic bearing failure. Bearings have to be thoroughly packed with grease, anything less and they will fail. Also. The bearings must be preloaded as part of the reassembly process, this was never discussed in the article. Undertightened and the bearings will fail, overtightened and they will fail. The amount of preload is extremely important. I hope this is helpful to everyone.
You forgot to mention the pre-load on the bearing as to loose is a problem as is to much torque causes bearing failure. Unless you know about pre-load, DO NOT TOUCH.