Table of Contents Show
It’s every RV owner’s worst nightmare. Water damage. If you notice water pooling on the floor, here are the steps you can take to complete a thorough RV floor repair. If you don’t feel comfortable completing these tasks yourself, you can always have a professional repair your floor. But it will cost a lot more than a do-it-yourself job.
Identify the Cause of Water Leak and Fix It
Before you start your RV floor repair, the most important thing is to determine what is leaking and fix it. If you skip this step, you will put in a bunch of work to replace your RV’s floor only to have the same leak ruin it again. If the leak is from your toilet, RV toilet repair isn’t as difficult as you may think.
Minor Damage vs Major Damage
The next thing you need to do is determine the extent of the damage. If you caught a leak early or it was rather small, you’ll likely have only minor damage. If a leak went on for many months and your floor has turned to mush, you have major damage.
Unsurprisingly minor damage is easier and less expensive to repair than major damage. When determining the extent of your damage, make sure you find the entire damaged area. You don’t want to miss out on a section only to have to redo everything again with another RV floor repair.

How to Replace Rotted Wood Flooring in an RV
So, the bad news is you’ve got major damage to your RV subfloor. Here’s what you need to do.
Discover the full extent of the damage
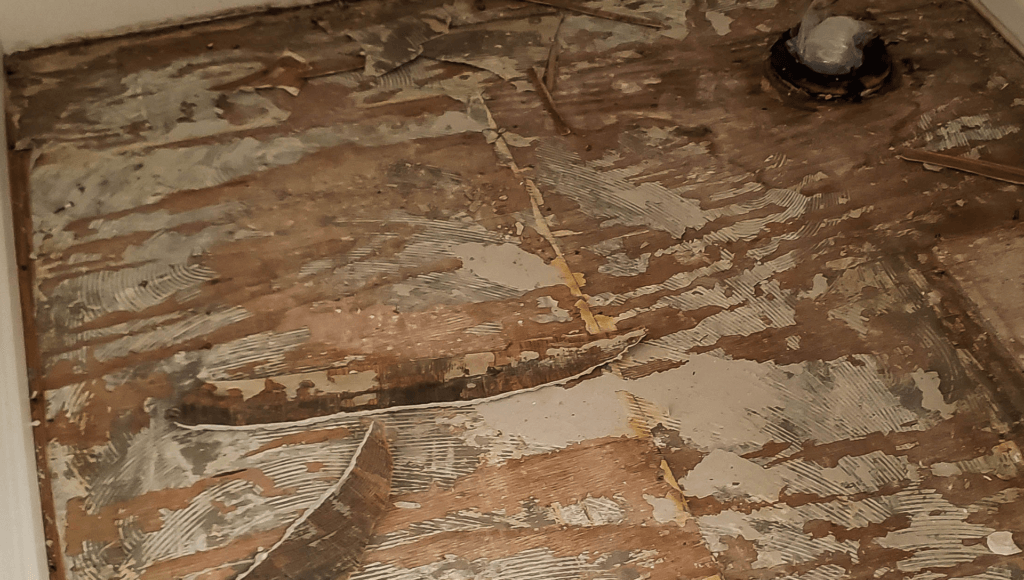
Determining this will probably involve pulling up the existing flooring (linoleum, carpet, etc) so you can get to the sub-floor below. Once you expose the wood paneling, you can assess how much and how bad the damage is.
Remove the areas that are badly damaged
For the RV floor repair, you need to cut out completely any badly damaged areas. This will require some tools including a circular saw and jigsaw, drill, tape measure, and replacement flooring/screws. At this point, you are only cutting out the plywood flooring. As you remove the plywood, you will see wood framing running along the bottom of the RV. If the framing is not rotting, you should be able to salvage it.
When cutting out the damaged area, it is important to cut out all the rotted wood. You may also need to cut some good wood to ensure you have an exposed section of wood framing to screw the new floorboard into.
Dry out the wood framing
After you have cut out and removed all the damaged wood, you need to wait up to a week to allow the wood framing to dry out completely. You need to ensure this is totally dry before installing the new wood flooring or you risk more rotting and structural damage.
Add or replace the wood frame
If the water badly damaged your wood framing and drying it out won’t cut it, you’ll need to add or replace the wood framing. This is an important step because the framing provides structural support. If you don’t need to replace it, you can also add some epoxy to prevent mold from growing.
Replace flooring
Once you have cut out all the rotted wood, allowed the wood framing to dry, and added more support or epoxy if needed, it is time to replace the flooring. You’ll want to use sturdy plywood the same width as your existing flooring to get a smooth finish.
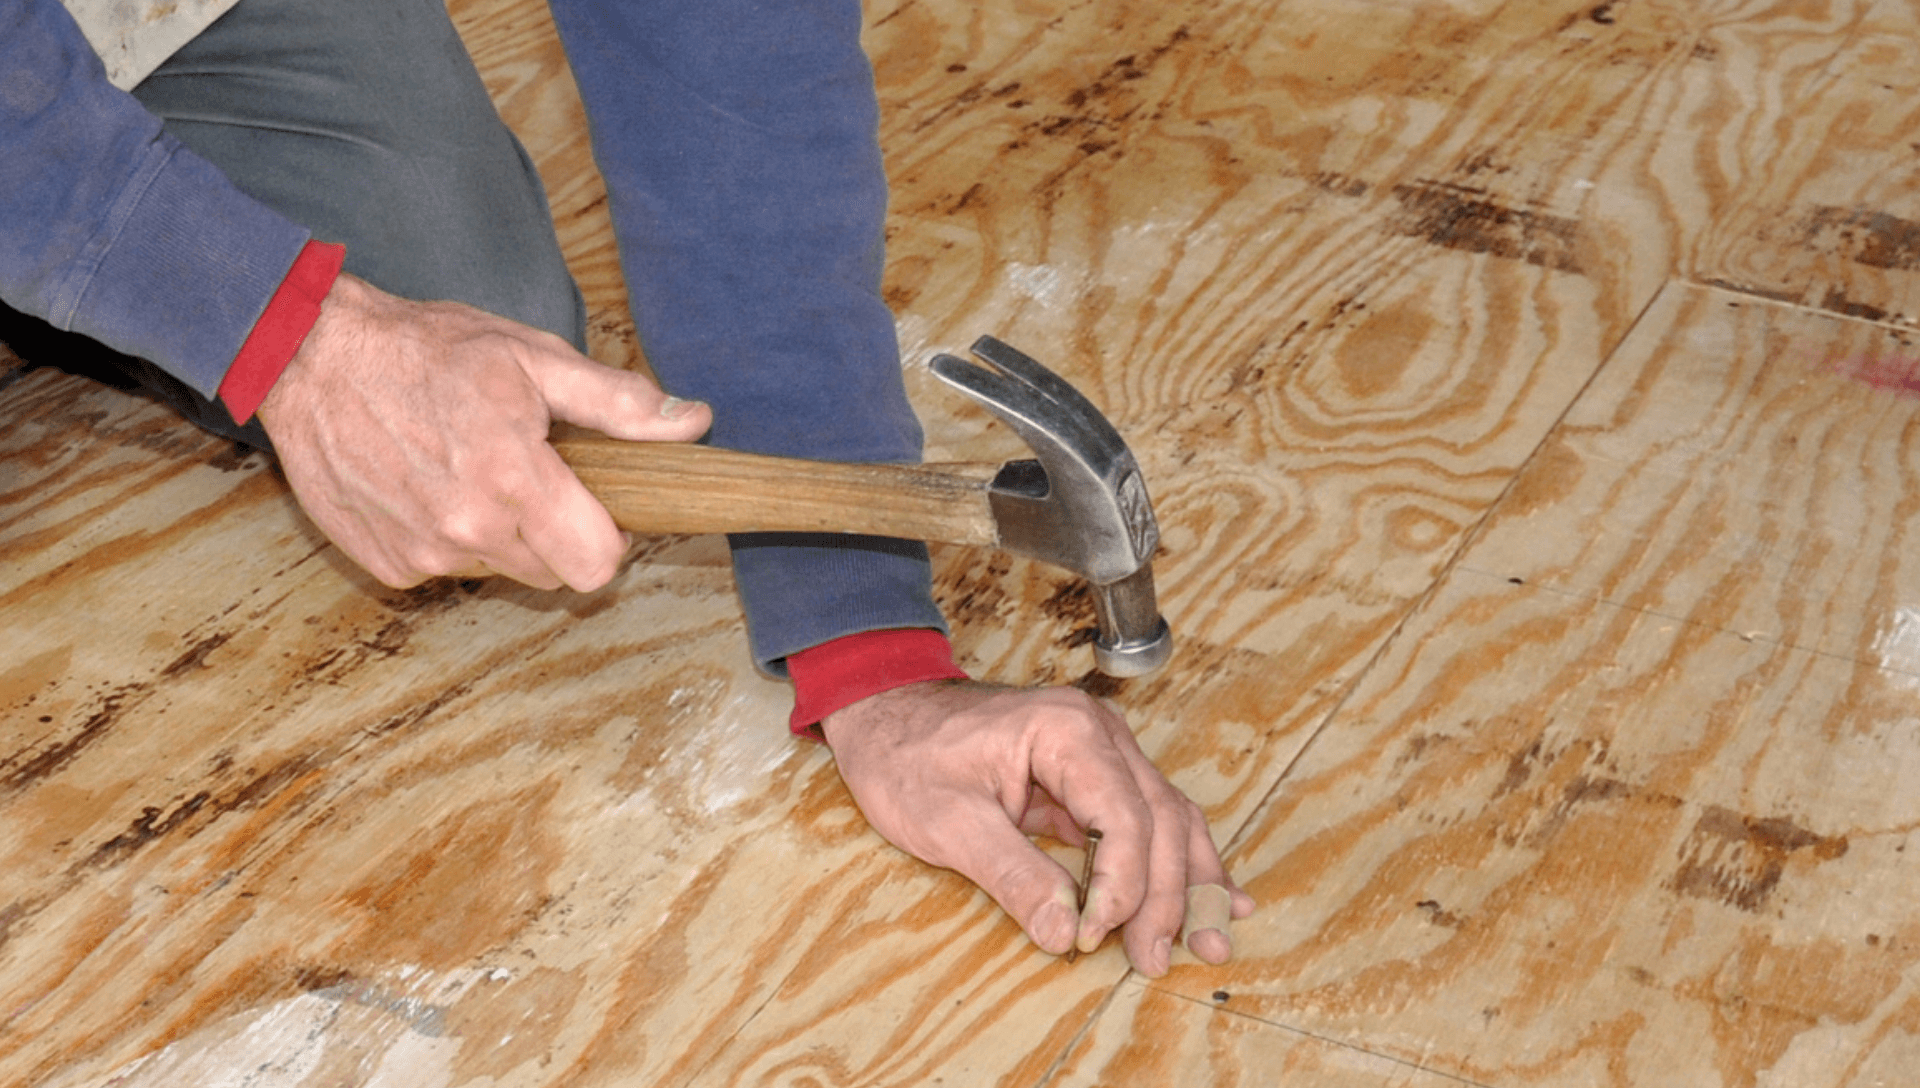
All you need to do for this RV floor repair step is to measure a piece of wood that fits the opening, cut the wood to size, and screw it into the framing using flooring screws and a power drill.
RV Floor Repair Tips
- Double-check all areas of the RV for damage: A thorough check of the RV ensures there is no hiding damage lurking to cause more headaches later. It is best to take care of all the flooring repairs at once so you don’t have to rip up your carpet, linoleum, or wood floor again at a later date.
- When mixing harsh chemicals, always be sure to take the proper precautions: Keep the area well ventilated, wear gloves and if necessary, a mask. Follow all the recommendations on the bottle to keep yourself safe. And if you start to feel dizzy or light-headed, go outside to get more fresh air.
- Exercise caution with tools: Power tools are, well, powerful. An RV floor repair becomes a lot more expensive and involved if you cut off a finger. Be smart, careful, and cautious with your tools so you don’t get hurt.
- If in doubt… consider hiring a professional: Hiring a professional to do an RV floor repair will cost more, but this ensures the job is done right. Your RV will be structurally sound and you will avoid additional problems arising because of a poorly executed DIY job.

What type of flooring is best for an RV?
The best type of flooring to install over your subfloor is vinyl. It is durable, easy to clean, and water-resistant. Given the purpose of an RV, these are must-haves in a replacement flooring. Linoleum is traditionally a more affordable option and is relatively easy to install, but it may suffer water damage. The carpet can get stained but gives the RV a homier feeling. Hardwood flooring is an option, but it requires more maintenance and is heavy, which is not desirable for an RV.

How much does it cost to replace RV flooring?
The RV floor repair replacement cost depends on the extent of the damage and whether you can complete the repair yourself or if you need to hire a professional.
For a small replacement that doesn’t require you to rip up most of the existing floor, you’ll spend at least several hundred dollars. The larger the area, the more expensive the repair. Replacing the framing joists will also be an added cost if needed. If you don’t already have the tools you need for the job, you also must factor in the cost to purchase or rent these.
If you have extensive damage and need a professional to do your RV floor repair, it will likely cost you thousands of dollars. You will also pay more if you are upgrading the flooring material for a fancier look.
We know that is a wide range, so if you’re having a professional do the RV floor repair job, you would benefit from getting a quote beforehand so you aren’t caught off guard by a hefty price tag.


