


Table of Contents Show
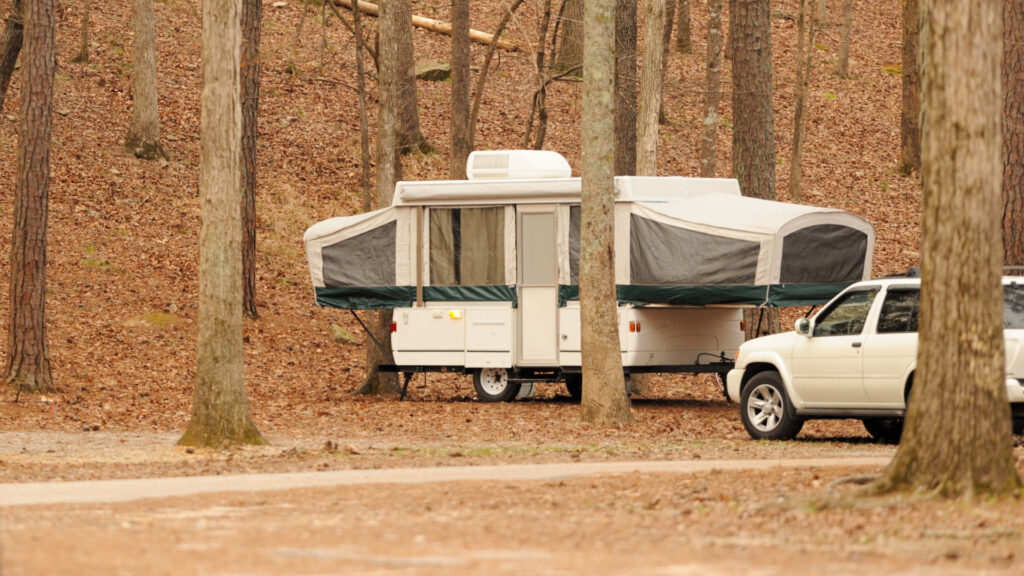
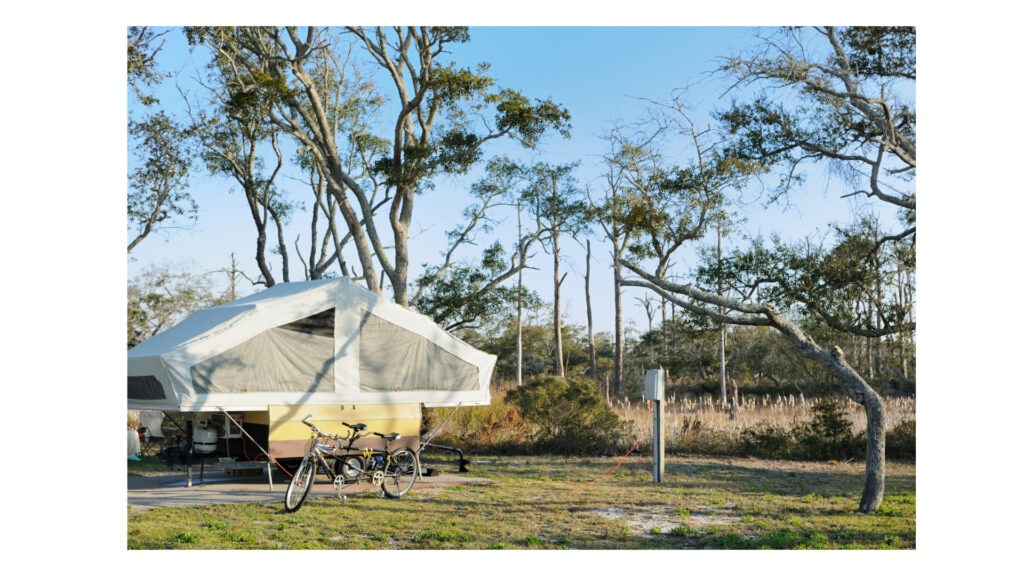
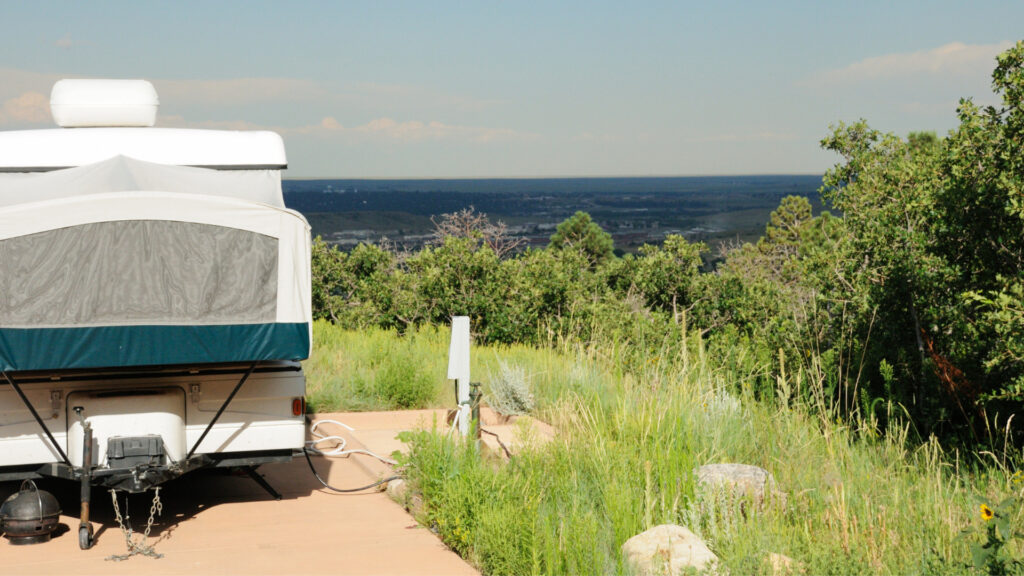
There are newer pop-up campers that have hard sides built-in, but what about that canvas-sided pop-up that you’ve stopped using because it just gets too cold? Perhaps it doesn’t hold up well against the weather? Well, let’s talk about putting hard sides on that pop-up camper.
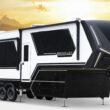
There are several reasons why you might want to put hard sides on what was originally a soft-sided pop-up camper. First, the newer hard-sided ones generally cost more than $10,000, with prices escalating from there.
Second, many old soft-sided pop-ups have seen better days and could do with a remodel. Third, it’s a project that a handy do-it-yourselfer would crave.
Whatever your reasoning, we’re here to help you explore what it takes to put hard sides on a pop-up camper and some of the options to consider. Let’s start exploring.
Can You Turn a Pop-Up Camper to Hardside?
We’ve already established that you can turn a pop-up camper into a hard-sided one. The bigger question is, should you? Or, more precisely, are you prepared to tackle such a project?
As we mentioned, it can be labor-intensive. Depending on the materials you use and the amenities you want to include, the cost savings compared to buying a new or second-hand camper could be negligible.
Keep in Mind: Before making a commitment to a pop-up, read the top 5 regrets of owning a pop-up camper.
What Are the Benefits of Putting Hard Sides on a Pop-Up Camper?
The main benefit to closing in a pop-up with hard sides is that it makes the camper much sturdier and more weatherproof. A canvas-sided pop-up simply doesn’t have much insulation against the cold.
And the material doesn’t hold up well over time against high winds, rain, snow, and ice. Adding hard sides can make your camper much more comfortable when combating the elements.
What Are the Disadvantages of Putting Hard Sides on a Pop-Up Camper?
The main disadvantages of putting hard sides on a pop-up are losing its low profile and ease of travel. It is likely to weigh much more than when it had soft sides, which could push the limits of your current tow vehicle.
The higher profile and weight of the camper will also lower fuel efficiency when towing it.
Things to Consider When Putting Hard Sides on a Pop-Up Camper
You need to consider several things when putting hard sides on a pop-up camper. These include whether you want to make the hard sides permanent or temporary, keeping the pop-outs or not, and if the frame can safely handle the weight of a hard-sided build.
Temporary or Permanent Hard Sides
One of the first things you have to decide is whether you want your hard sides to be temporary or permanent. Whichever direction you choose will affect the rest of the build.
You can construct permanent hard sides more easily. Just work off of the current layout to give you a guide to a simple framework and then attach the sides.
If you want to have temporary hard sides, you’ll have to create a design that allows for the soft sides to remain intact when removing the hard sides. Or your design will need to incorporate foldable hard sides that can collapse when closing the pop-up.
Keep the Pop-Outs or Not
Many pop-up campers also have beds or sitting areas on the ends that pop out, similar to slideouts on many motorhomes and fifth-wheel trailers.
This adds living space when the pop-up is all set up. You may have difficulty incorporating these pop-outs into a hard-sided design. You can still do it, but it adds another layer of complexity to the build.
How Much Weight Can Your Pop-Up Camper Frame Hold
Crucially, you must know your pop-up camper’s gross vehicle weight rating (GVWR) for the frame. This is the entirety of the weight the structure can hold when fully loaded.
More specifically, it doesn’t only include the weight of the build. You must also consider what supplies you’ll hold within the camper, including any people.
This is an essential safety consideration. Surpassing the GVWR can compromise the structure’s integrity and cause dangerous driving conditions when towing.
How Do You Put Hard Sides on a Pop-Up Camper?
Here’s where the rubber meets the road. Or, more accurately, where the walls meet the camper. Once you decide how to layout your hard-sided trailer and refine your plans, you can start the build.
Frame the Camper
First, you’ll need to build a frame to which you can attach walls and siding. You’ll probably have a good idea of the framing from the original pop-up layout, but also consider where any features and openings will go.
Next, consider the materials and weight. You may think of wood as the go-to material. But you can also use aluminum framing materials and other options that have all the necessary strength at a fraction of the weight of wood.
Frame the Side-Outs
Keeping the maximum space that pop-outs or side-outs provide requires a more involved framing process. Be diligent in your planning. Consider how the frame will support the weight of the side-outs.
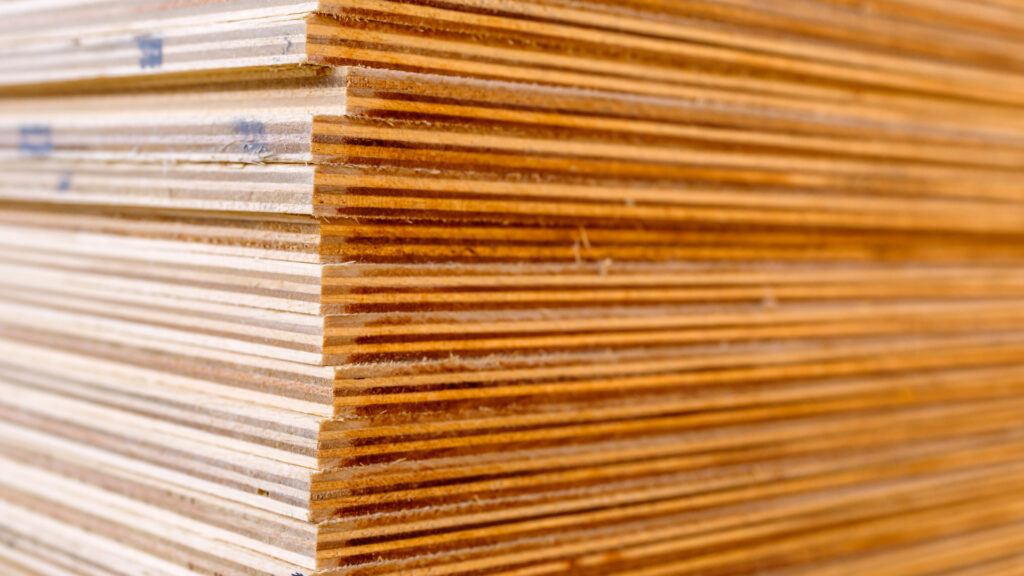
Add Plywood Walls
Once you place the framework, you can add a plywood base to the walls. Though it is somewhat heavy, plywood provides several benefits. It gives the walls a sturdy, safe structure to apply insulation and protective siding on the exterior.
The plywood itself also provides some insulation to protect against the elements, keeping you much cozier inside your camper. It also comes in different thicknesses, so you can minimize its weight impact by going with a thinner product.
Cut Out Any Windows or Doors
It’s almost time for that insulation and siding. But first, once you have the plywood walls in place, cut out any openings for windows, doors, vents, or other access points.
This is important so you can put the main insulation in place without going back and removing it from spaces with windows, vents, etc.
Add Insulation
Once you put hard sides on your pop-up camper, you can add insulation. In the nooks and crannies, you can use spray canisters of expanding foam to fill the gaps. But when it comes to the larger areas that need insulation along the walls, ceiling, etc., you have a few options.
Traditional batting insulation is easy to work with, but in our experience, it doesn’t hold up well in campers. It tends to sag and bunch up over time when jostled around by the constant motion.
Spray foam insulation is the optimum choice. It has a high R-value (or high insulating power) and can fill spaces fully.
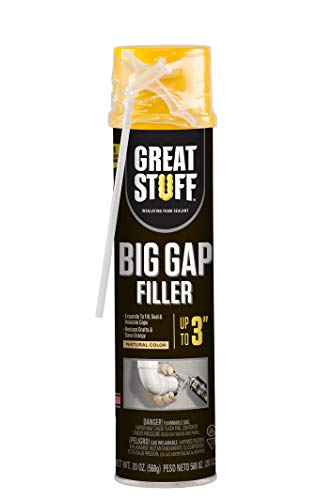
- The product is 20Ozbiggap foam sealant
- Elegant design and smooth finish
However, spray foam insulation takes a slightly higher skill level to implement. Be sure to learn how to apply it well before starting on your camper.
If you don’t want to tackle spray foam, you can also use rigid foam insulation. Like spray foam, it has a high R-value. It does, however, require a fireproof barrier on top of the insulation, which might add weight to your build.
Final Touches
Do any necessary plumbing or wiring before closing the walls. Consider easy access to any valves or junctions that might need attention in the future.
When doing plumbing and wiring, follow proper safety procedures to ensure you won’t have any leaks or fire hazards.
Now, close in the walls. Again, always consider the weight in any materials you choose for your final finishes.
Also, consider their durability. You want the finished product to look good and still handle the vibrations and stresses of travel.
Wood can add a beautiful look to the exterior, and the proper types can hold up well to travel and the elements. But again, wood is heavy — much heavier than many other materials. Vinyl or aluminum siding has excellent staying power at a fraction of the weight of wood siding.
Time to Decide: Hard Sides or Not
Converting a soft-sided camper to a hard-sided camper isn’t for everyone. It’s labor-intensive, requires lots of planning, and takes time. But for a handy do-it-yourselfer, it could work as the perfect solution to what many would consider a nightmare.
Putting hard sides on a pop-up camper can be an easy decision, particularly if you have an old one that could use some love. Or you may crave the idea of tailoring your trailer to your custom specifications.
If all the details we’ve laid out have you excited, then this is the perfect project for you. Will you add hard sides to your pop-up camper?
Last update on 2024-07-26 / Affiliate links / Images from Amazon Product Advertising API

Sorry, this is preposterous. Even if one were to use plywood, it needs to be marine grade.
Better option is FRP bonded to Poly-iso sheets with Aluminum C channel at edges. Then use aluminum hardware and velcro to create origami type folding for minor set-up & tear-down work.