

Table of Contents Show
When you own an RV, it’s essential to understand your rig’s electrical system.
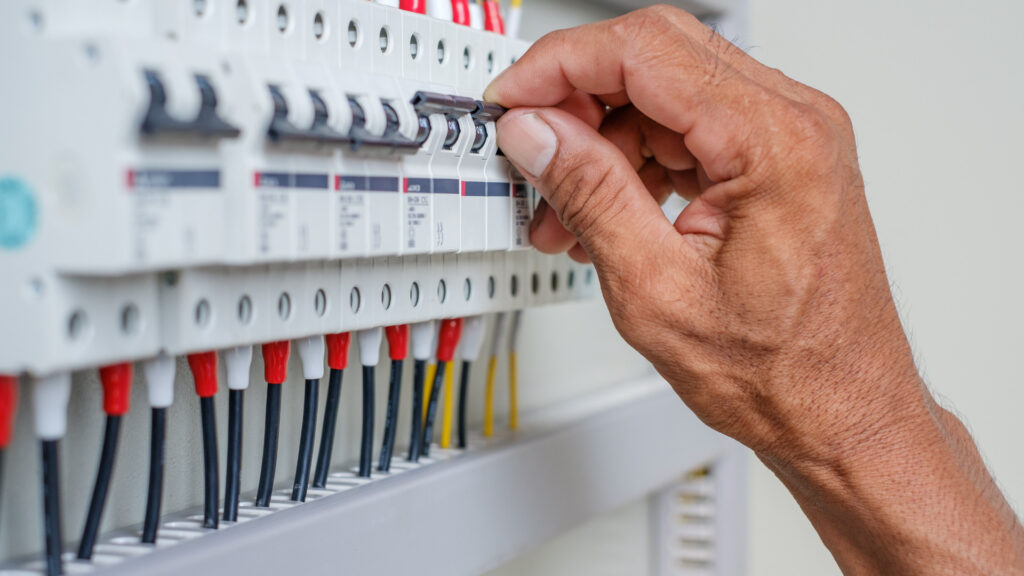
Your RV electrical panel is one of the most critical pieces of equipment you should be familiar with when traveling.
The electrical panel is the switchboard for your rig’s power. It directs the flow of electricity to different appliances. At the same time, it provides essential safety measures.
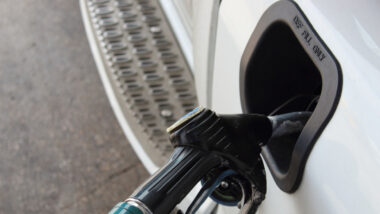
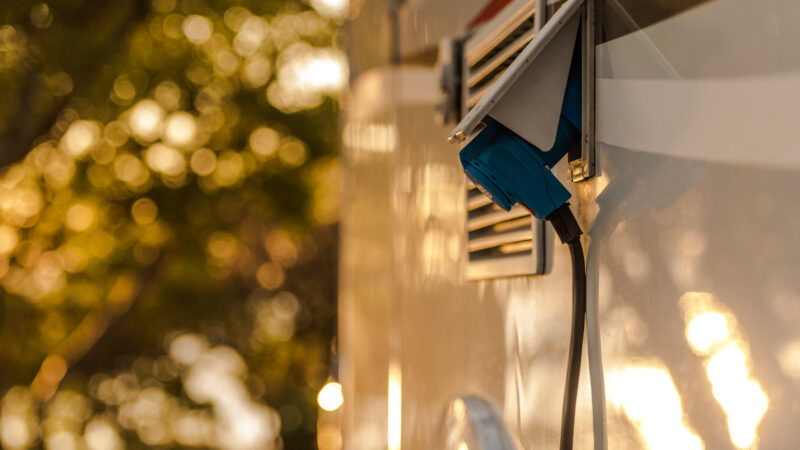
Knowing when to plug your rig into a power pedestal and how to do so is essential.
But understanding the RV electrical panel can help you know how to safely manage your rig’s flow of electricity and troubleshoot a problem when things go wrong.
Let’s plug in and dive into the details!
What Is an RV Electrical Panel?
You’re probably familiar with the electrical panel if you own an RV. It contains all the circuit breakers and most of the fuses for the various electrical systems in the RV.
These are key in routing power and in helping to prevent electrical fires.
The electrical panel is your RV’s primary point of contact with the electrical power source, whether a shore power connection or a generator.
Knowing how to use your electrical panel properly is essential to avoid damaging your RV’s electrical system.
How Does the Electrical System Work in an RV?
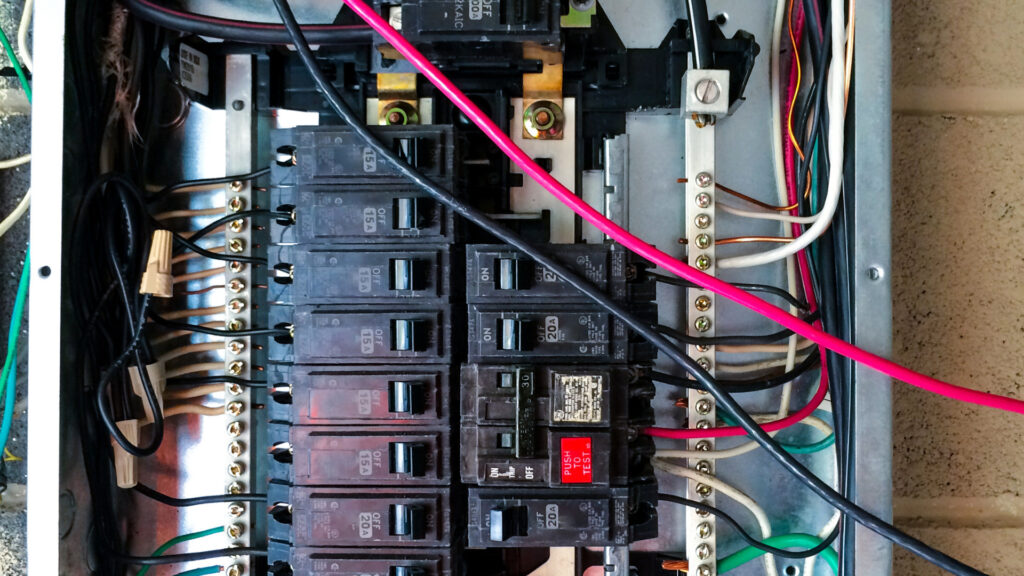
RV electrical panels provide power to the RV’s appliances and lights. The panel and the RV’s house batteries are connected, as well as to a series of DC (direct current) and AC (alternating current) circuits.
DC circuits power the RV’s lights and other 12-volt appliances like your water heater and furnace, while AC circuits power the RV’s 120-volt, daily-use devices.
The RV electrical panel has a series of breaker switches that control the flow of electricity to the 120-volt circuits, while fuses manage the flow of electricity to the 12-volt circuits.
These breakers and fuses help to protect the appliances and lights from the irregular flow of electricity, such as power surges.
Are RV Breakers the Same as Home Breakers?
RV breakers and home breakers serve the same purpose. When too much electricity flows through the electrical system, the breaker stops the flow of electricity. This function prevents electrical fires from occurring.
Though the breakers’ functionality is the same and looks very much the same, there are a few key differences.
The primary difference between a circuit breaker manufactured for a home versus a circuit breaker explicitly manufactured for an RV is that an RV breaker handles the constant bumps and vibrations of travel.
RV breakers are almost always double-pole, meaning they can protect two circuits simultaneously. Most home breakers are single-pole breakers.
Another prominent feature of RV breakers is that they trip at a lower current than home breakers.
This function is because RVs are much more susceptible to electrical fires. Tripping at a lower current offers a little bit more protection.
What Fuses Are Used in an RV?
Fuses are a vital part of any RV electrical panel. Blade fuses are the most common type of fuse used in an RV and come in various sizes.
They are easy to identify because they have two metal prongs that fit into the socket. They are the same type of fuses used in automobiles.
How Do You Tell if Your RV is 30 amp or 50 amp?
If you’re unsure whether your RV is 30 amp or 50 amp, the easiest way to check is to look at your RV’s electrical panel.
Most RVs have a label on the panel that will give the amp rating. If there’s no label, or you’re still unsure, the best thing to do is consult your owner’s manual or dealer.
Another way to tell is by looking at the plug on your shore power cord.
A 30-amp plug will have three prongs (one hot, one neutral, and one ground). A 50-amp plug will have four prongs (two hot, one neutral, and one ground).
Keep in Mind: You can save a ton of money using a 30-amp RV generator! Take a look at these top recommended 30-Amp Generators for RVs
How Do You Wire an RV Electrical Panel?
Wiring an RV electrical panel may sound daunting, but it’s not all that difficult if you are a handy do-it-yourself person.
If you’re not comfortable working with electricity, hire a professional.
The most important thing is to be sure that there is no live electricity flowing anywhere through your RV when working on the electrical system, including coming from the house batteries.
Assuming that you already have a position set aside for your RV electrical panel and a panel selected, wiring takes a few specific steps.
The 12-volt power will run directly from your house batteries’ busbar to the 12-volt DC distribution section of the electrical panel, where there will be blade fuses.
The 120-volt power comes from the inverter and will connect to the 120-volt AC distribution section of the panel, where there will be circuit breakers.
12-volt DC Wiring
Hook up the 12-volt section first. Remove three or four knock-outs on the back of the distribution box at the point where your 12-volt power goes.
Feed the positive and negative wires from the battery through the knockouts.
Connect the positive wire to the positive lug (usually on the left) and the negative wire to the negative lug (usually on the right). At this point, if you turned the power on, there would be electricity powering the 12-volt DC distribution panel.
Leave the power off while connecting your various 12-volt DC appliances. String the duplex wire from the appliance through the appropriate knockout and strip about a quarter inch of sheathing from the wire.
Connect the positive wire to a lug next to a blade fuse socket. Then, attach the negative wire to the negative busbar behind the DC board. Follow this process for each of your 12-volt appliances.
The wires attach by slightly unscrewing the connector screw, feeding in the wire, and tightening the screw. You can access the negative busbar by moving the DC board out of the way, as a clip typically attaches it.
Once all your appliances connect to the DC panel, you can insert the appropriate blade fuse in each location.
The size blade should be rated appropriately for the 12-volt machine you are powering. This information is in the owner’s manual of each specific appliance.
After wiring all 12-volt DC appliances, note which device plugs into which slot on the DC distribution panel by writing it in the space provided; this makes troubleshooting any future electrical issues easier.
Pro Tip: New to RV Electrical Hookups? Then take a look at our RV Electrical Hookup Guide for Newbies!

120-volt AC Wiring
Wiring the AC panel is similar, but there are a few notable differences. The main ones are that you are wiring for circuit breakers instead of fuses, and each 120-volt connection has three wires.
A black hot wire connects to the circuit breaker, a white neutral wire connects to the neutral busbar, and a green ground wire connects to the ground busbar.
Again, ensure no power flows through your RV, especially to the inverter.
Feed the three-conductor wire from the inverter through the knockout on the RV electrical panel. Cut the sheathing of this wire back about four to six inches. Then, strip about a half inch of insulation on each wire.
Attach the green wire to the ground busbar and the white wire to the neutral busbar. Attach the black hot wire to your 30-amp single pole main circuit breaker.
Slide the circuit breaker into one of the main breaker slots, and attach the retainer clip that helps keep it in place. If you turned on power now, you would have power to the main breaker, which feeds the other breaker slots.
(NOTE: If installing a 50-amp service, you would have two hot wires from the inverter, usually black and red. You would attach one hot wire to one 50-amp breaker.
The other hot wire connects to another 50-amp breaker so that you can power two separate legs of 50-amp power. The rest of the process is much the same.
Although, you would divide the power-hungry appliances between the two different 50-amp legs to balance out your power usage per leg.)
Leaving the power off, feed the wiring for each of the 120-volt AC appliances you want to power through the AC side of the panel. Strip the wire in the same fashion as you did for the main breaker. Again, attach the green wire to the ground busbar and the white wire to the neutral busbar.
Next, connect the black wire to one connection of a tandem circuit breaker. A tandem breaker allows for two circuits using just one busbar space, which is ideal in the confined space of an RV.
You can attach a second appliance to the other connection of the tandem breaker using the same procedure.
Slot the breaker into an open busbar space. Repeat this process for all of your 120-volt AC appliances.
As you did with your 12-volt DC appliances, pay attention to which 120-volt AC appliances connect to which breaker in the panel and label the panel accordingly.
It’s Important to Understand Your RV Electrical Panel
Unless you are building a rig from scratch or undergoing a significant upgrade, you’ll rarely have to wire your RV electrical panel.
However, understanding how is a good bit of knowledge that helps understand how power gets to the different appliances.
Learning the specifics about your electrical panel and how it provides power goes a long way in troubleshooting issues. Frequently, a power outage to a single device can trace to a blown fuse or tripped circuit breaker, which may lead to an unrealized issue in your rig.
Or perhaps all of your DC or AC appliances go out at once. This issue could lead you to a different problem outside of a blown fuse or tripped breaker.
No matter where the final answer lies, knowledge is power. Better knowledge of your RV’s electrical system empowers you to make more informed decisions about your rig.
It could even help solve simple issues that could otherwise make your travels miserable.