


Table of Contents Show
If you’re like us, you like to do as much as possible with your RV. That means working on minor repairs and modifications yourself. We’ll show you how to add or replace an RV electrical outlet to your rig.
We’ll talk about RV electrical outlets versus house outlets, showing you how to remove an existing outlet, add a new one, and replace the old one.
We’ll also give you some tips on the tools and equipment you’ll need, including where to get them. Let’s get started.
Are RV Outlets the Same As House Outlets?
RV electrical outlets are different from house outlets in a few ways. They are generally smaller to accommodate the shallower RV walls, and they don’t require the same complex wiring system as house outlets.
However, RV electrical outlets can overload more easily than house outlets because RVs generally have much less power than a residential home.
An RV typically operates on either 30 amps or 100 amps (called 50 amp because it has two legs of 50 amp) of power to the entire rig, so it’s crucial to be careful when using them. If you’re plugging in multiple devices or appliances, check the RV outlet’s amperage rating to ensure that you’re not overloading it.
What Kind Of Outlet Does An RV Use?
An RV uses a 120-volt, 15-amp outlet, the same voltage and amperage used in most homes. The most significant difference is their size.
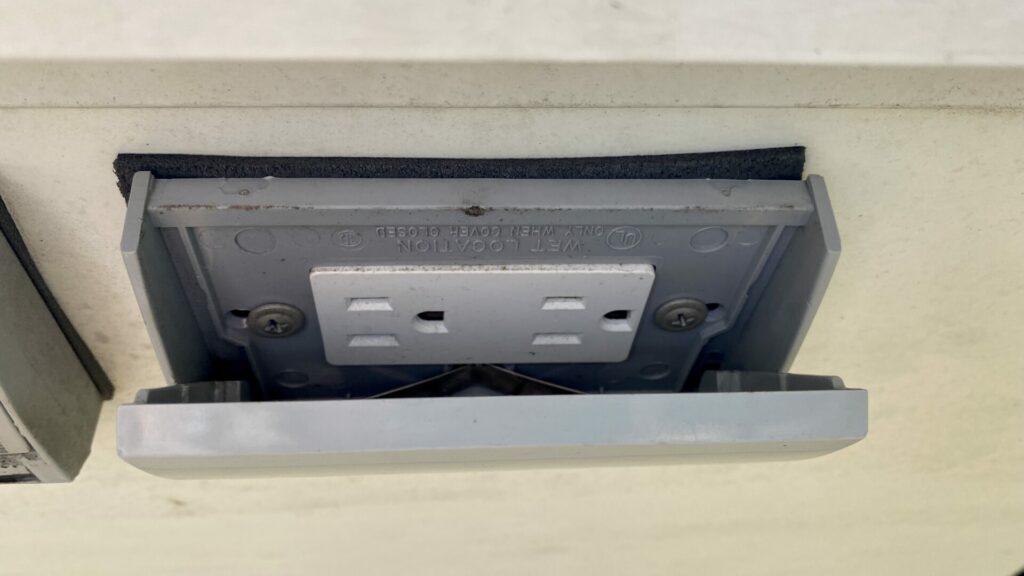
Household outlets fit into a deeper receptacle, usually attached to a stud inside the wall.
RV outlets are more diminutive and self-contained, so you can easily attach them to much shallower walls than a residential home.

Can You Replace RV Outlets With Regular Outlets?
You can replace RV electrical outlets with regular outlets, which are more robust and safer because of their separate receptacle.
What could limit you when replacing an RV outlet with a regular outlet is space.
As mentioned, RV outlets fit within shallower walls than a standard outlet.
If you have the space where you want to replace an RV outlet, you could (and should) replace it with a regular outlet.
How Do I Replace An RV Outlet?
You need to follow a few simple steps to replace an RV outlet.
The first critical step is to ensure no power runs to the RV’s electrical system.
Check that you don’t have the rig plugged into shore power and that you shut off the main breaker in the breaker box.
You want zero power going to the rig to work on the electrical components safely.
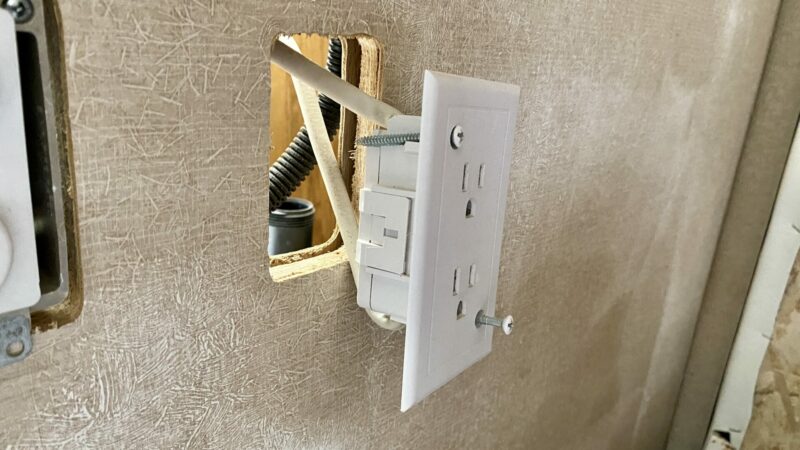
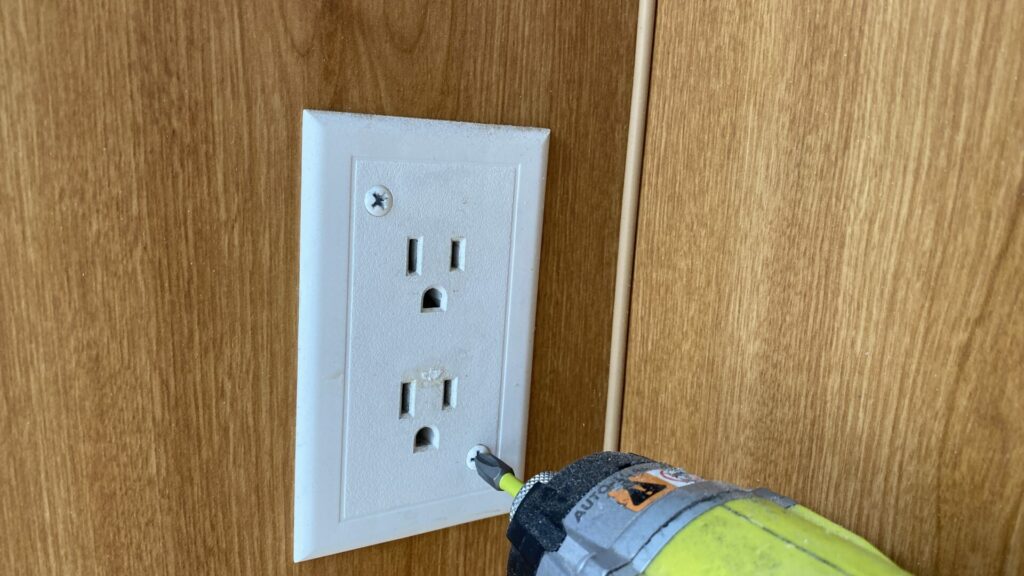
Next, remove the cover of the existing RV outlet.
Then loosen, but do not remove, the screws that hold the outlet tight against the wall.
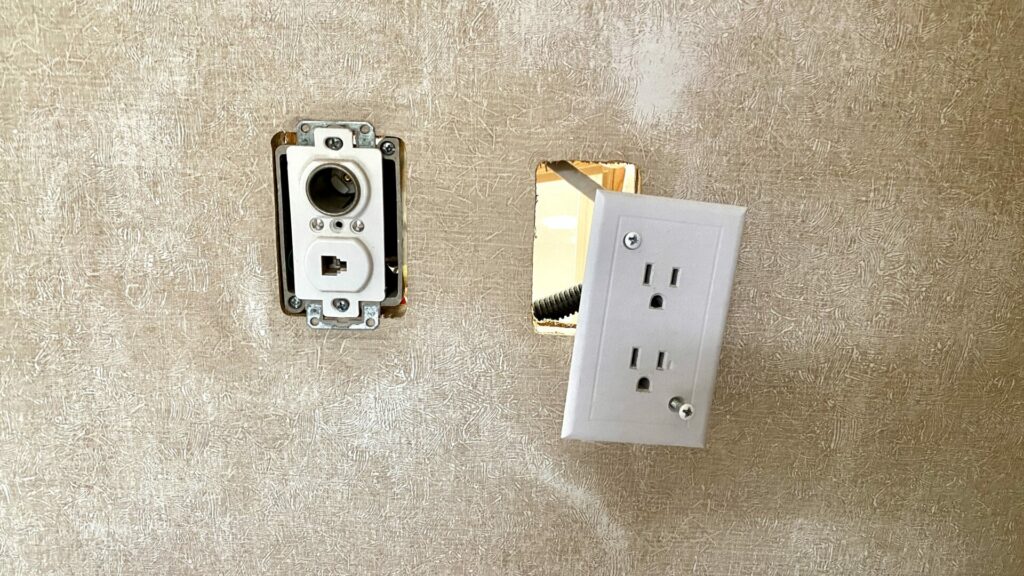
After loosening the screws, rotate the plastic pieces on the back of the outlet and entirely remove them.
Outline your new RV electrical outlet workbox around the old opening.
Use a utility knife to cut away the necessary luan wallboard to create a space for the new regular outlet workbox.
This is an excellent point to add a new outlet in another nearby location. You would run new Romex (14/2 with the ground) wire from the site you just opened up to where you want a new outlet.
When running the wire to the new location, be sure it isn’t rubbing up against sharp objects. Also, keep the wire supported with loom tubing conduit or wire mounts and zip ties.
After running your new wire, mount an outlet workbox at the new location.
Connect the ground, neutral, and hot wires to the new outlet by looping them clockwise around the corresponding screw.
Looping clockwise also ensures that the screw will pull the wire tight.
Mount the new outlet and attach the cover.
Returning to the original replacement location, check that the new outlet work box allows for the new wiring and existing wiring to connect safely within the box.
This is the easiest way to connect the replacement box to the original wiring and incorporate the newly located box.
If you can’t find a box rated for this, or if it is too deep to fit within the wall, you’ll first want to connect the RV wiring to the replacement outlet wires in a junction box you can mount inside the wall.
The wires from the junction box would then run to the replacement outlet. Wires from the replacement outlet would run to the newly located outlet.
Anywhere you have two or more wires attached, twist them together, cover with a closed-end cap, and crimp it on.
Mount the replacement outlet workbox. Connect the incoming wires from the RV to the outlet, as well as the outgoing wires to the new outlet.
You may need to twist the ground wires together with a closed-end cap before connecting to the outlet. Mount the outlet and attach the cover.
Turn the power on and test your outlets to ensure that everything is wired correctly and working.
Products You’ll Need to Add Or Replace Your RV Electrical Outlet
When replacing an RV outlet or installing a new outlet in your rig, there are a few standard tools and pieces of equipment you’ll need to get the job done safely.
Let’s run down the list so you’re not wasting time running back and forth to the hardware store.
RV Electrical Outlet
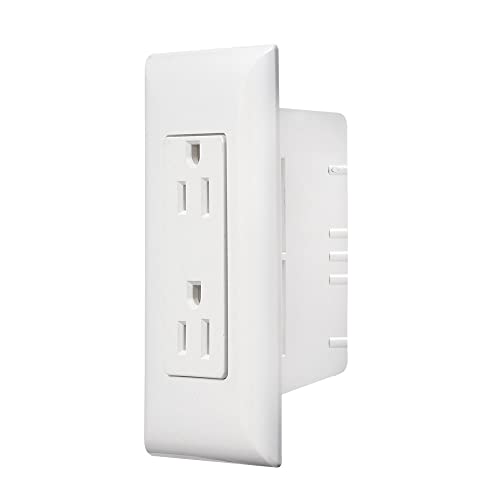
- White Speedwire Dual AC Outlet.
- Self Contained design with cover plate. Back Box required for RV applications
If you don’t have the space in your wall to install a normal house outlet, here is an RV electrical outlet engineered to fit in the thinner wall space.
Klein Tools 1009 Multi-Tool

- Wire Stripper strips 10-20 AWG solid, 12-22 AWG stranded wire
- Multi Tool crimps insulated and non-insulated connectors
A good multi-tool makes working with an RV electrical outlet much more manageable. The Klein Tools 1009 Multi-Tool is one of our favorites.
It can do everything from stripping 10-20 AWG solid wire to 12-22 AWG stranded wire, cutting wire, crimping insulated and non-insulated connectors, and more.
Residential Indoor Electrical Wire

- Coated in patented SIMpull Cable Jacket for easier pulling; stripping; and installation
- Romex Type NM-B Copper Building Wire is commonly applied in residential building wiring as a branch circuit for switches...
Romex 14/2 wire with ground is the standard for the outlet installation discussed here.
Southland’s patented SIMpull technology makes its Romex wire easy to pull, strip, and install.
Keep in Mind: New to RV wiring? No worries! Here’s your newbie guide to RV wiring and electrical!
Closed-End Cap
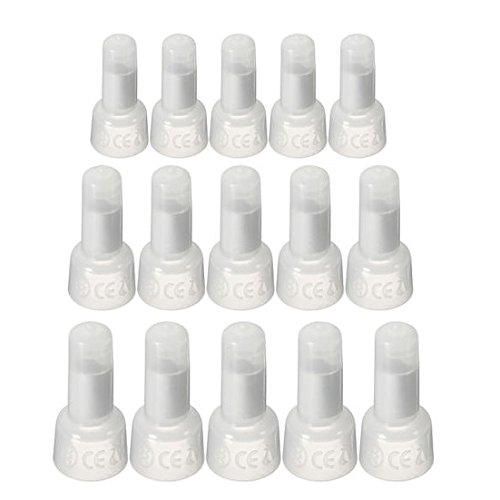
- 100% New and High Quality
- Comply with all relevant US European standards, Install Bay makes it easy
Wire nuts work for connecting wires but can be a hassle, as they usually need additional electrical tape to ensure they don’t vibrate loose while driving your RV.
That’s why we prepare closed-end crimp connectors.
They go on similarly to a twist-on wire nut, but you crimp them with the Klein Multi-Tool for a tight, insulated connection.
Wire Conduit
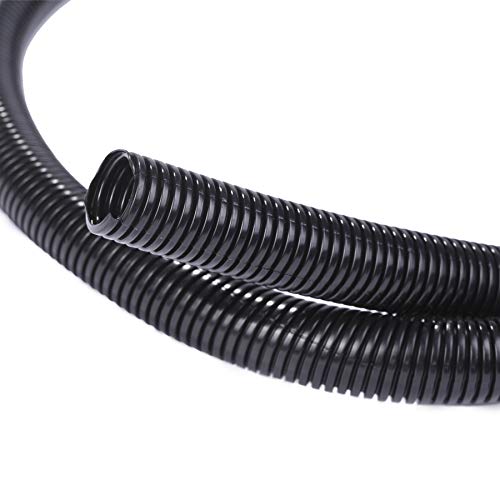
- Size: Inner diameter: 1/4"| Length: 25 Feet | Color: Black. Our wire loom is made of 100% new and high quality...
- Our split loom is split and easy to put wires in. Our split loom tubing is thick enough to provide full protection for...
When wiring an RV electrical outlet, you don’t want to use a traditional rigid wire conduit.
If you’re going to enclose your wires, it’s best to use a flexible product like Alex Tech’s Split Wire Loom Tubing Wire Conduit.
It’s an easy way to run a wire or multiple lines and keep them organized and protected.
Mount Wire Holder
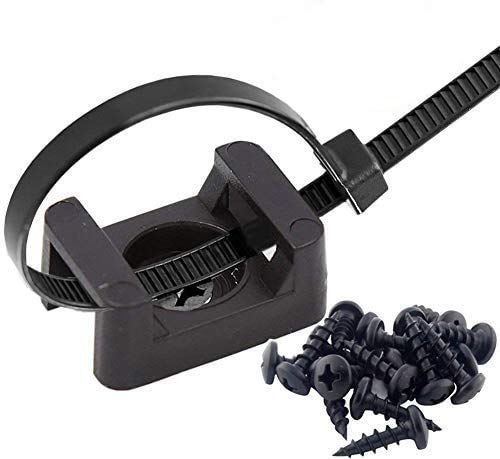
- This cable tie mounts are made of high quality nylon material,which is light weight, good insulation aging.
- These cable tie mounts are white color that can be easily concealed for a neat appearance.
Saddle wire mounts are another excellent option to keep wires organized and in place.
You can even use them in conjunction with loom tubing for additional support and protection when trying to keep your wiring away from sharp objects and pulling on connections while driving.
Outlet Work Box
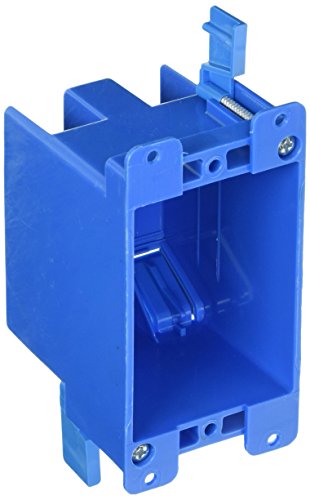
- Carlon B114R-UPC Lamson Home Products Number-1G Old Work Box Pack of 3
- 3-3/4" x 2-3/8" rectangular Hole needed
If you’re not simply installing or replacing an RV electrical outlet, you’ll also need an outlet workbox for each installation location to use a residential-style outlet.
Carlon is a company that makes an assortment of different sizes and configurations to fit almost any location.
Keep in Mind: Do you struggle to hook up your RV? Hook up your RV at a campsite like a pro with these tips!
Now You Can Replace An RV Eletrical Outlet
Working on your RV’s electrical system can be a daunting task, but it doesn’t have to be. You are now ready to replace your RV electrical outlet. It’s a pretty straightforward process.
Whether you have a fixer-upper rig or want to add more convenient outlet locations for your needs, with the right tools and equipment, you now know how to do it yourself. What other DIY projects are you planning for your rig?
Last update on 2024-07-26 / Affiliate links / Images from Amazon Product Advertising API