
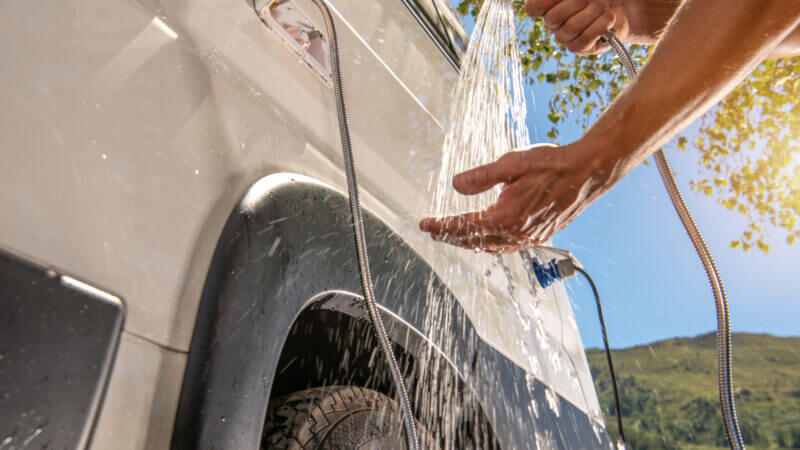
Having a tankless water heater in your RV can be an incredibly efficient and well-used addition to your home on wheels. It means that as long as you have a water supply, you’ll never run out of hot water. You can take hour-long showers, run the dishwasher, and flush the toilet without any effect on your hot water supply.
This tankless version also takes up less room in your RV and saves you money. Because it’s not always running to keep your water warm, like a storage-tank water heater, it only uses fuel when you’re using it.
With these benefits in mind, you’re probably ready to install a tankless water heater in your RV today! But first, keep reading to learn more about installing one in your camper.
How Does a Tankless Water Heater Work?
You may be familiar with electric hot water tanks that contain a heating element. The element’s job is to reheat unused hot water in the tank continually. When you’ve used up the tank storage, it takes time to replenish.
While not initially expensive to install, these traditional electric hot water tanks are inefficient since they keep the water hot, whether you need hot water or not.
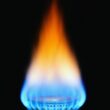
A tankless water heater is a high-efficiency means of heating water. It uses gas or electricity to heat the water only on demand. So, when you open the hot water tap or start an appliance that uses hot water, the tankless water heater immediately starts the heating process. Instead of storing and reheating hot water all day and night “just in case” you need it, the tankless water heater waits until you ask for hot water to start heating.
As the name would suggest, a tankless water heater does not use a storage tank. Instead, when you turn on the hot water tap, cold water moves through a pipe and into the unit. At this point, depending on whether you have an electric or gas water heater, the gas burner or electric element heats the water instantly and delivers it to your tap.
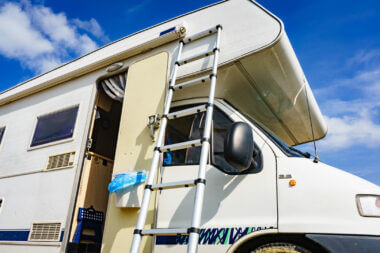
How To Convert Your RV Water Heater to Tankless
So, you’ve made your decision, and you’ve purchased an RV tankless water heater! Now what? Read on to learn how to bring this marvelous technology into your RV.
Most importantly, consider whether you’re comfortable with a DIY installation over a professional installation. Your safety and that of your family are foremost, so if you’re at all uncomfortable with the installation process yourself, contact a professional. Otherwise, read on.
First, for safety, turn off your propane supply at the tank. You’ll also want to disconnect the power supply to your rig, so there’s no electricity flowing to your water heater. (Shock prevention.)
Next, turn off the water pump inside your RV, so there’s no pressure flowing through the water lines. (Mess prevention.)
Now, drain the water tank. Open the pressure relief valve and then open the drain valve to release all of the tank’s water. (Pro Tip: Stand back!)
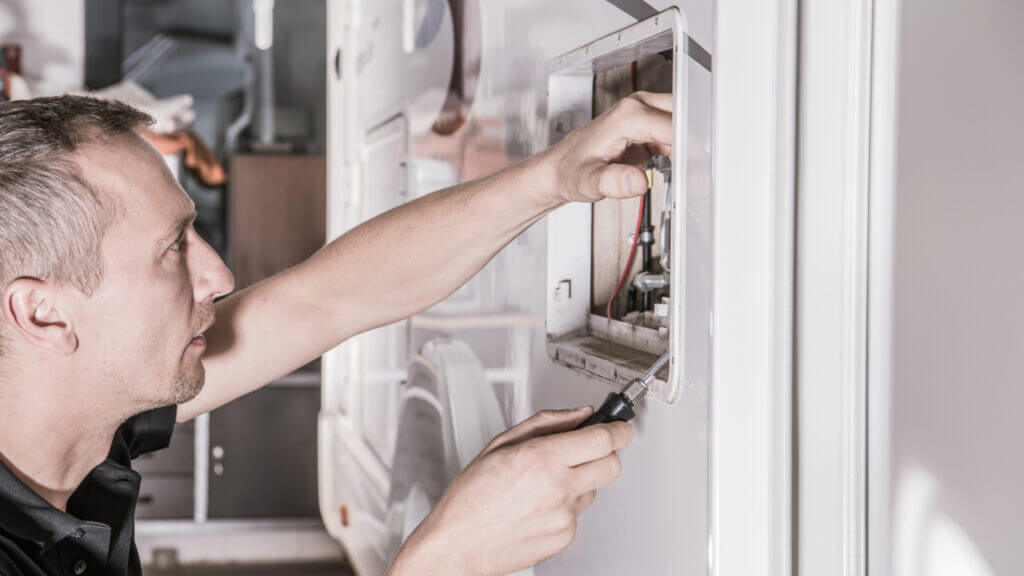
Next, disconnect from the electric and propane lines and the hot and cold water supply lines. (Suggestion: Take a photo of the electrical lines before disconnecting. Then, take a photo of your hot and cold water valves before turning them off and disconnecting the lines from the old tank. Reference these for restoring the lines after installation.)
Now, at the water heater cabinet’s exterior side, remove all of the fasteners and use a putty knife to cut through any weatherproofing, butyl tape, and caulking.
As you carefully remove the unit, take note of any wiring that may still be connected, and gently disconnect it before pulling on the unit to remove it.
Once you’ve taken the old model outside your RV, clean any remaining residue from tape and caulking products using your putty knife and mineral spirits. Clean the interior of the water heater cabinet.
(Pro Tip: Use Teflon tape/plumber’s tape around the new unit’s water line connections before installing the unit. This is much easier to do when you have easy access to the connections ahead of installation.)
Slide the new water heater into the cabinet. (Suggestion: Take a moment to hold the newly purchased door up to the unit to make sure it fits your new heater and cabinet.)
If necessary, frame the new water heater into the cabinet snuggly, so there’s no movement of the unit itself.
Secure the door to the water heater and the framework of the cabinet. Use butyl tape and caulking to properly waterproof the area around the cabinet.
Reconnect the water lines to the water heater. (Note: Bypass lines are not needed when using a tankless water heater.)
Reconnect the electrical and gas lines.
NOTE: Girard (the market-leading brand for RV tankless water heaters) and other manufacturers do not recommend a DIY installation of the electrical components, including the user control panel. If you’re not an electrician, have a professional wire the unit and control panel for you.
Once a professional has helped you with all electrical connections, reconnect the DC power to your RV. Finally, turn on the propane (at the tank) and turn on your water pump from inside the RV.
Test the unit and take a long, hot shower!

Enjoy Your Constant Warm Water!
Although the expense of installing a tankless water heater can be higher initially than a tank storage water heater, most RVers don’t regret their decision to switch. The high-efficiency, cost-savings, space savings, and—most importantly—the constantly warm water make it a fantastic addition to any RV!