

Table of Contents Show
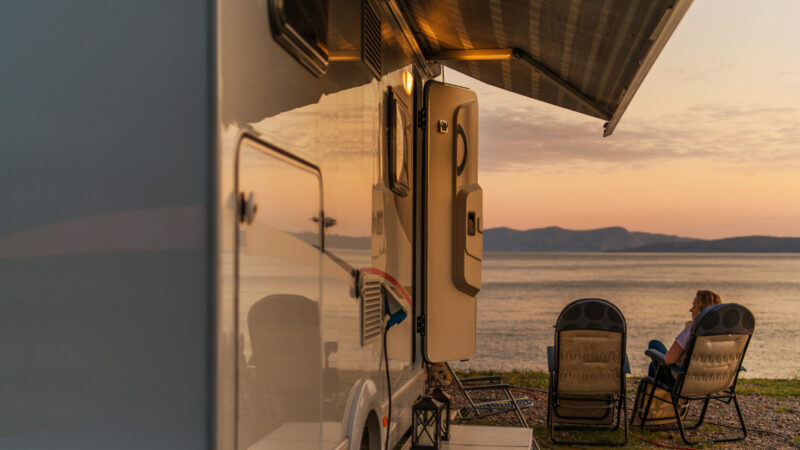
You might find yourself replacing an RV awning at some point, whether due to wear and tear or accidental damage.
We have some things you need to know if you want to do it right. Since your RV’s awning keeps you comfortable while camping, you want to do this project right.
Today, we’ll share some of the most important things you need to know about replacing an RV awning.
What Is an RV Awning?
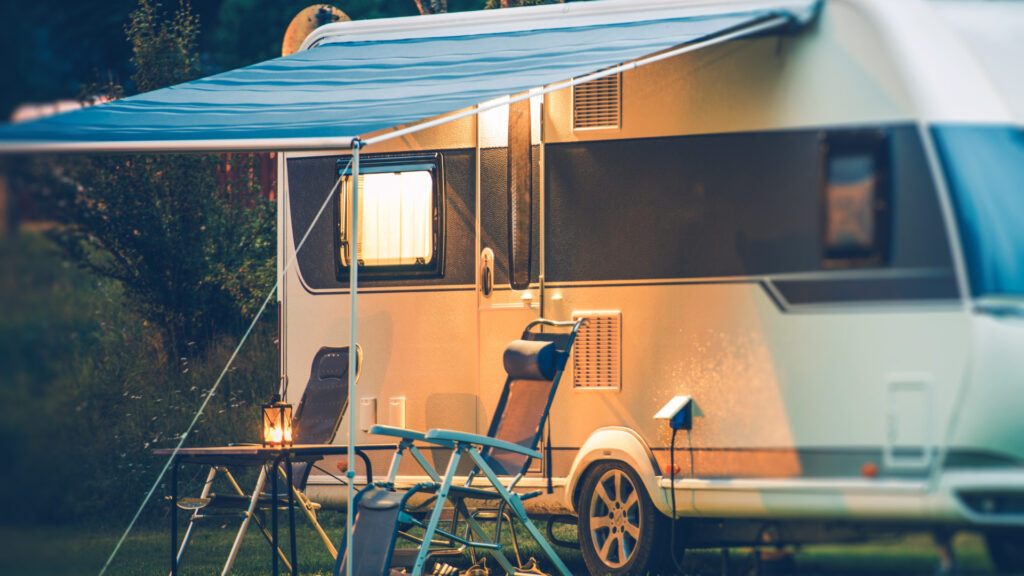
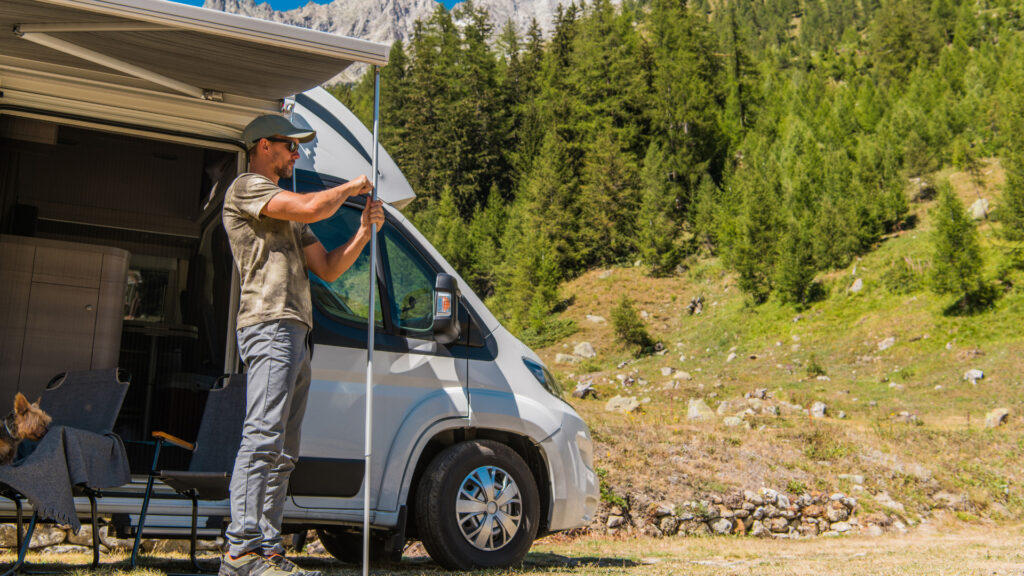
An RV awning is a retractable fabric canopy that attaches to the side of an RV.
These canopies create shade and protect campers from the sun, wind, and rain. Additionally, they extend the usable area of an RV so you can spend time outdoors.
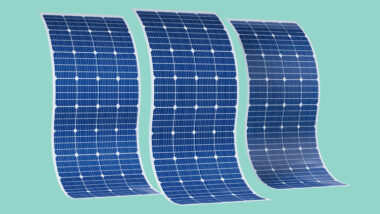
Most use vinyl, acrylic, and polyester materials. The type of material directly affects the durability and lifespan of the awning. Some are stronger than others and more resistant to damage or wear and tear.
Is Replacing Your RV Awning Hard?
While replacing your RV awning isn’t the easiest task, it’s not impossible. However, due to the size and weight of RV awnings, you’ll likely need an extra set of hands.
Some RV awnings are easier to replace than others, and the task’s complexity will depend on the size of the awning, the mounting hardware, and the retracting system.
While this can be a DIY project, it’s not for everyone. If you do not have the tools, equipment, or skills to complete the job, hire a professional to do it for you. You could do more harm than good to your RV if you bite off more than you can chew.
How Long Do RV Awnings Last?
How long you can expect your RV awning to last depends on various factors. However, most well-maintained RV awnings can last between 5 to 15 years. But, some of the more heavy-duty vinyl and acrylic awnings can last 20 years or more.
One of the best ways to maximize the life of your awning is to care for it properly. This means cleaning it regularly and storing it properly when not in use.
Wind, rain, and snow can cause tremendous damage in seconds. If you want it to last, you must retract it during these types of weather conditions, or you might end up replacing your RV awning much sooner.
How Much Does It Cost to Replace an RV Awning?
Like many RV projects, the cost to replace an RV awning can vary considerably. You’ll need to consider the size, the material, and whether you have an electrical or manual one.
Costs can range from $250 to over $2,000, depending on your specific RV awning and what you need to replace.
It’s important to note that the mentioned cost doesn’t include labor. If you can’t replace your awning yourself, you could look at several hundred dollars more in labor fees.
However, this isn’t a task that just anybody should attempt, and depending on your situation, it may be worth paying a professional to do it for you.
Keep in Mind: Are you considering purchasing an electric RV awning? Here are 5 reasons we recommend avoiding them.
How to Replace Your RV Awning
If you want to replace the awning on your RV, you need to follow a handful of steps.
You can expect this project to take 1 to 3 hours, depending on what you need to replace and if you have a quality helper.
Measure the Old Awning
Before replacing your RV awning, measure the old one. As with many projects, accuracy is important, and we recommend measuring the awning at least twice. Then note the awning’s width and length to make sure you shop for the same size.
Purchase Replacement
Once it’s time to shop for your replacement awning, you have a few options to consider. You can visit your local RV dealership’s service department and order through them.
They’ll likely contact your manufacturer and ensure you get the proper awning for your rig. However, this may not be the cheapest or fastest option.
You can also shop online through Amazon or other online retailers like Shade Pro or RV Awnings Mart. As materials can vary, compare apples to apples regarding thickness and quality. Take the time to read reviews and make an informed decision.
Remove Old Awning
To begin replacing the old RV awning, retract it fully and start removing the screws and bolts holding it in place.
Take your time to ensure you keep track of the pieces and know where they go when it comes time to reattach them. You may want to take pictures throughout the process to avoid confusion.
Once you disconnect the awning, be extremely careful with the roller tube. It will likely be rather heavy and come crashing down. This could injure someone and cause serious damage to your rig.
Keep in Mind: Can You Leave Your RV Awning Out in the Rain? Let’s find out!
Install New Awning
Installing the new awning is rather simple; you simply reverse the process you used to remove the damaged canopy. Slide the new awning fabric onto the roller tube and attach it to the mounting brackets.
You’ll likely need to use the same screws, bolts, and hardware from the old one. If you notice any dirty or rusting parts, replace or protect them.
Once you attach the new awning, extend and retract it several times. Ensure you’ve properly aligned it and it doesn’t have any issues. If all goes as planned, you can clean up your tools and dispose of the old awning fabric and any packaging from your new one.
Replace Your Broken or Aging RV Awning
Replacing a broken or aging RV awning is an essential maintenance task for any RV owner. With the proper tools and equipment, it’s likely a job that most DIYers can complete.
A new awning can enhance the look and function of your RV, provide shade and protect you from the elements. If you properly care for and maintain your awning, it should last for years of RVing adventures.