


Table of Contents Show
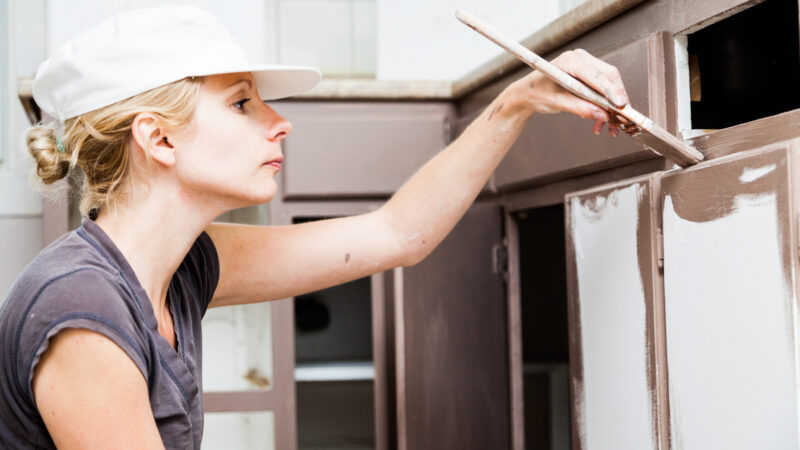
Painting RV cabinets can seem like a daunting task, but it’s well worth the effort if you want an affordable way to update your rig. We spend so much time in the kitchen cooking, cleaning, and eating; it’s nice when the kitchen itself gets an update that reflects your style.
Everything needs to be renovated eventually, so you might as well give your eating space or bathroom cupboards a little TLC and have fun while you’re at it.
Why Do People Paint Their RV Cabinets?
Painting is a great way to brighten up a room and not only make it look nicer and more personal. If you just bought a used RV and want to put your stamp on it, or if you’re just sick of staring at the peeling paint on your cabinets, this is a great way to bring a breath of fresh air into your style. Sometimes it’s also just nice to have a change.
How Long Does Painting Your RV Cabinets Take?
Because of paint drying and curing time, it’ll most likely take a few days to finish your entire kitchen. Cabinets are more time-consuming than painting a wall because you have to remove the doors and hinges if you want a professional look.
Spray painting will be faster, but it depends on what kind of paint you want to use, how much you prep, and how comfortable you are with renovation products.
Ultimately, if you’re committing to the job full-time, you can finish the project in about two days (depending on paint curing time). But if you’re doing it alongside travel or other responsibilities, give yourself at least a week to do the job. Take your time and do it right–you’ll notice every mistake if you rush through it.
What Supplies Will You Need to Paint Your RV Cabinets?
The number of supplies you need depends on whether you’re doing liquid paint or spray paint, and even then, it can differ depending on the surface, the condition of the cabinets, and your DIY comfort level.
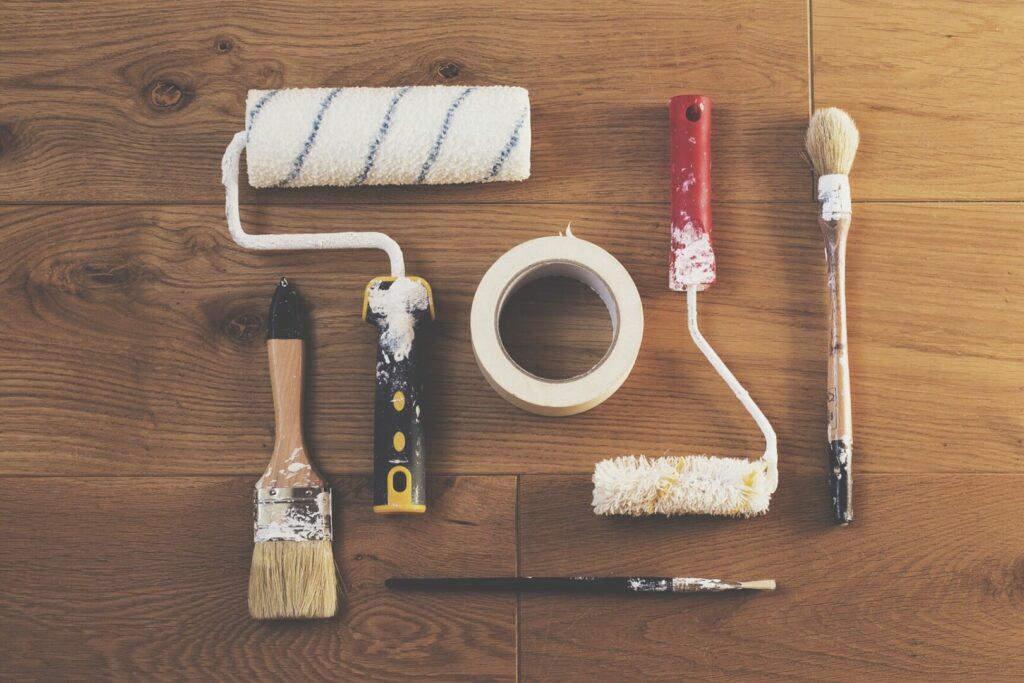
In any case, you’ll need a cleaning solution, sandpaper, and brushes. Getting drop cloths, rollers, and gloves will also make the process easier. Here are a few other supplies you’ll need.
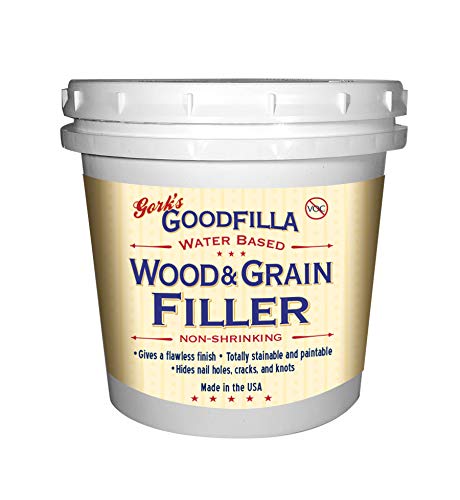
Spackle or Wood Filler
- ⚒️ HIGH QUALITY & MONEY SAVING: Save time and money with this wood filler that does not shrink, sink, or crack, and...
- ⚒️ DESIGNED FOR PROFESSIONAL WOODWORKERS: The only water-based, non-latex/acrylic, trowel-ready wood filler in the...
Chances are if you’re renovating your RV, it’s partially because your cabinets have taken a beating. There are likely holes and scratches that you can quickly fill with a little spackle or wood filler.
Sand Paper
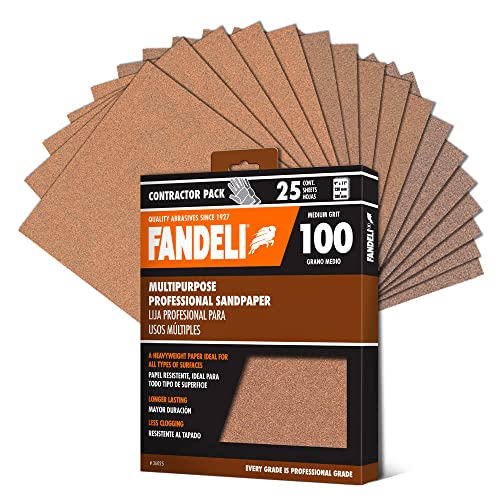
- 🔶 PRODUCT SIZE AND CONTENTS: The package includes 25 pieces of 100 grit and can be used more than once. Size: 9'' x...
- 🔧 POSSIBLE USES: Offers fast cutting ideal for working with wood, paint, metal work and plastics. The abrasive...
Sandpaper is crucial because it will smooth everything out. If you paint something before cleaning and sanding it, the paint will have lumpy spots and peel easily.
There’s also liquid sandpaper if you want something faster, but it’s not usually as effective as the paper stuff.
Paint

- Ultra-White Brilliance: Experience the transformative power of Titanium Infusion, an ultra-white hue inspired by the...
- One-Day Transformation: Redefine your kitchen cabinets in a single day with our brush-and-roll application - no...
Of course, you’ll need paint and perhaps primer, depending on the job. Most paint includes a primer, but you can also get the two separately if need be.
For the best finish, look into paint that’s specifically made for cabinets. The Sherwin Williams Emerald line is excellent for cabinets, but it’s a bit pricey. If you go for something cheaper, choose a satin finish. It’s more durable and easier to clean than an eggshell or matte finish.
Acrylic latex paint works well with cabinets, as well as professional-grade lacquer oil-based paint. Please note that oil-based paint is durable, but it’s also challenging to work with, and your RV will smell like oil for weeks or even months. Oil paint fumes aren’t great for tight spaces.
Brushes, Rollers, and Roller Pans

- COMPREHENSIVE SET: Package includes 11 piece: Tray, Roller Frame (9"), 2 Roller Covers (9"x1/2"), Roller Frame (4"), 2...
- PROFESSIONAL QUALITY: This paint tray set is high quality intended to be long lasting and easy to clean. Exceptional...
Rollers are a huge time saver when painting large areas, and they leave the best finish; however, brushes are necessary for edges, corners, and tighter spaces. Cabinets tend to be smaller and have different surface levels, making it tricky to paint with a roller alone. But using both brushes and rollers will be to your advantage to cover all areas while leaving a smooth finish.
Paint Sprayer (Optional)

- 【3 Spray Patterns & 5 Nozzle Sizes】Paint sprayer can be adjusted to 3 different spray patterns: horizontal, vertical...
- 【Perfect Design For User Experience】Detachable, making it easier to use and clean; the paint output can be controled...
Spray paint is undoubtedly faster than brushing or rolling paint, though you need to be extra careful to keep the area well ventilated, so you don’t make yourself sick. A paint sprayer will leave a smooth finish and get all areas with minimal (if any) brushing in corners.
Spraying paint is a tricky process, and it’s easy to overspray and splatter paint somewhere you don’t want. It can also be more expensive because spraying takes more paint, and renting or buying a sprayer can be costly.
Painter’s Tape

- Top Quality Masking Tape: Made with FrogTape's PaintBlock technology, this tape ensures crisp and clean paint lines,...
- Versatile Surface Compatibility: Ideal for use on cured painted walls, wood trim, glass, and metal surfaces, providing a...
Using tape will help keep paint off any surfaces you don’t want to change, such as the countertop, walls, and appliances. It can also help hold any plastic in place if you want to use that to protect the inside of your cabinets or the floor from paint drips.
Any painter’s tape will do, but professionals recommend Sherwin Williams tape or Frog tape. These will seal nicely for clean edges without pulling up paint from the surfaces underneath.
Drop Cloths
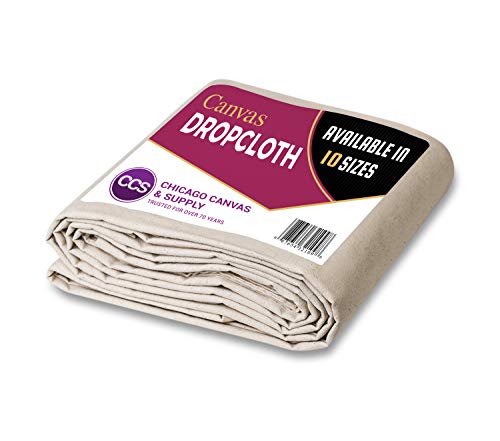
- THE PERFECT SHIELD AGAINST PAINT, DUST & STAINS: No matter if you are a professional painter or just an active DIYer who...
- PREMIUM COTTON DUCK CANVAS MATERIAL: Made of the highest quality, dense and thick cotton duck material, this cotton...
No matter how careful you are, painting is messy. Using drop cloths can help manage the mess as you work, leaving less clean up for later. Just spread the cloth or plastic over the floor below the cabinets, and perhaps keep a few extra handcloths nearby just in case.
TSP

- This item is Klean-Strip 0408 TSP Trisodium Phosphate Substitute No-Rinse Quart
- Used for Building Materials & Ladders Flooring
TSP stands for trisodium phosphate, a heavy-duty cleaner to get those cabinets squeaky clean. If you have any stains from grease, oil, or soot, this is a great option to remove them once and for all.
How to Prep Your RV Cabinets for Painting
The key to having a non-stressful painting experience is keeping everything clean and organized: an impressive feat when dealing with messy liquids. Try to label each cabinet carefully, as well as the nails and hinges attached, so nothing gets lost or misplaced.
Painting cabinets can be a bit of a hassle, so taking measures to make it go as smoothly as possible will be well worth it.
Choose Your Paint Color
Paint colors are a very personal choice, so choose something you love while considering the color scheme of the rest of the RV. White cabinets are always popular, but you don’t have to go that route.
White for the top cabinets and black for the bottom is a super classy look that could help keep your kitchen from getting overwhelmed with one color. You can also do this two-toned method if you want to throw in a fun, bright color without it looking too crazy.
But if you only want to deal with one paint, neutral tones are easier on the eyes in a small space. At the end of the day, you’re the one who will be looking at these cabinets, so pick a color you enjoy.

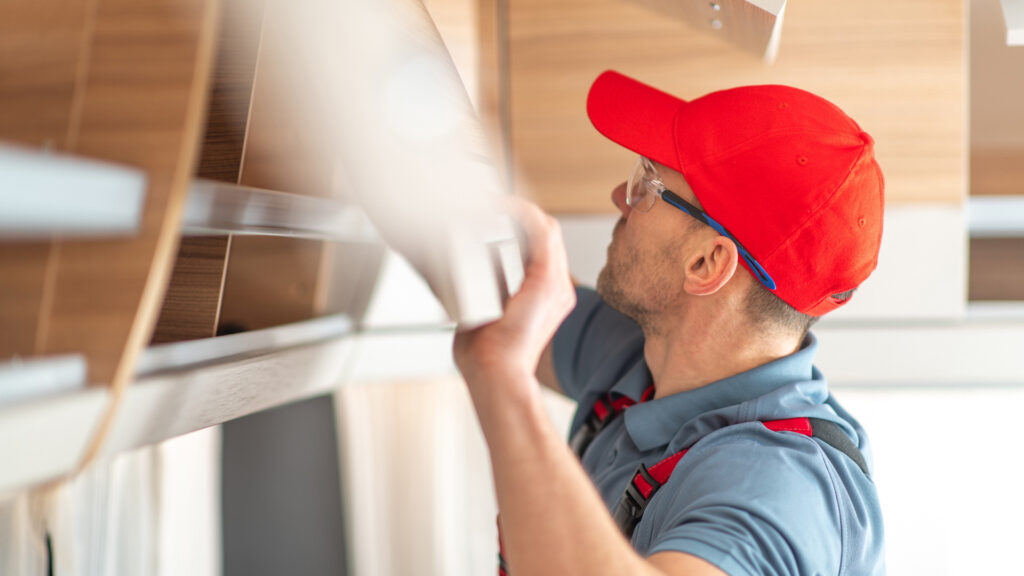
Remove Cabinet Doors and Handles
Removing the cabinets, drawers, and pulls lets you get a smooth professional-looking finish without working around the hinges or handles. This step is somewhat time-consuming, but it will save you ample time and stress later.
It’s helpful to place a piece of tape on each cabinet identifying where it should go (i.e. top left or spice cupboard). Place the hardware in plastic baggies and label it in the same way. That way when you remove the cabinets, they don’t get mixed up.
While you’re at it, consider upgrading your cupboard handles to something classier.
Spackle Holes and Scratches
After removing the doors, inspect the surface for holes and scratches. Spackle or wood filler is easy to use and dries fast.
Overfill the blemish and use a putty knife to push the putty into the hole and then scrape it smooth. If the mark is shallow, it usually takes 15 minutes or less to dry before you can sand and paint.
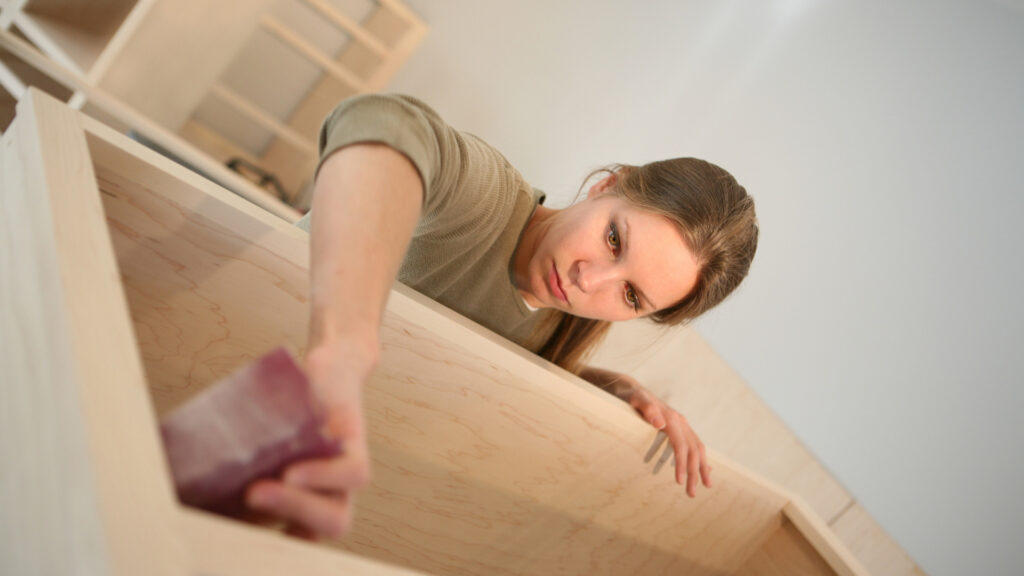
Lightly Sand and Thoroughly Wash the Surfaces with TSP
Any dirt or jagged corners that you don’t properly clean and sand down will mess with your paint job, potentially forcing you to start over. It may seem like a bother, but having a smooth surface to work with will make painting so much easier.
Use 120-grit sandpaper to lightly sand the surface. Smooth out any spackle spots. You’ll know you’ve sanded enough if you run your hand over the cabinet surface, and it feels smooth all over. Rub out any uneven points.
When you’re satisfied with your sanding job, use a microfiber cloth or tack cloth to wipe off the extra sawdust. Then, grab your TSP and clean away all dirt and grime with a soft cloth. This step is essential, as a dirty surface won’t hold paint, and it’ll peel off and chip with the slightest pressure.
Tape and Cover Areas You Won’t Paint
Any area that butts up against your cabinet needs taping. No matter how good you are at cutting in the edges with your paintbrush, it’s not worth the risk of getting paint anywhere you don’t want it.
Tape your counter, appliances, and even the floor. You can use tape, plastic sheets, and cloth to help control where the paint will go.
How to Paint Your RV Cabinets
When painting, you need to decide the color and the type of paint and application. Remember that it’s mostly up to personal preference and your comfort level.
Before getting started, consider watching videos online of other RV travelers who have gone through this process already. In the meantime, here are our best tips for painting.
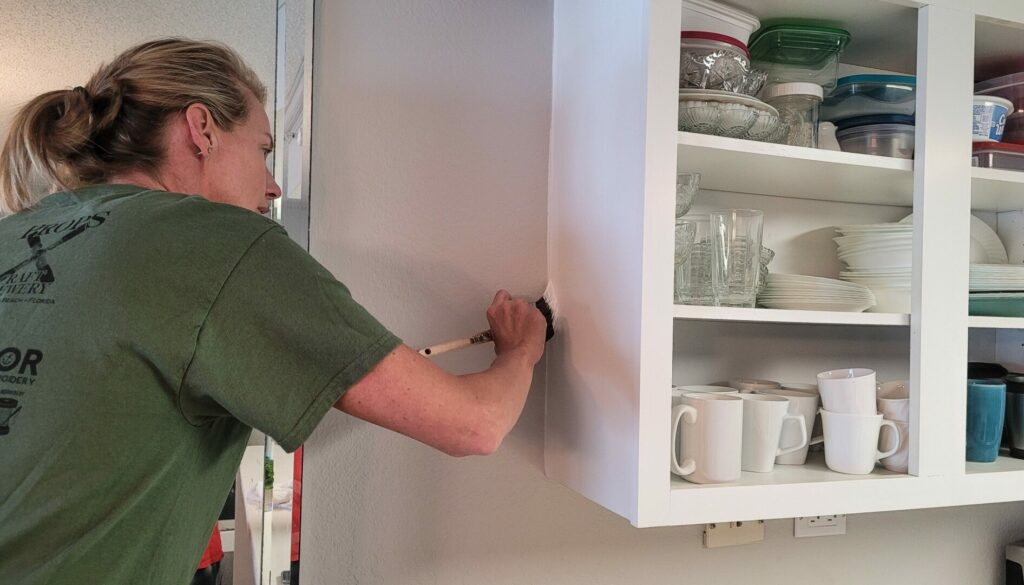
Use Brush for Corners and Edges
There are brushes specifically for those tight corners and edges, which will make painting much easier. A good brush will keep your paint job looking extra professional, so those lines are on the surface and don’t bleed into the inside of the cupboard. Get the brush into every corner, though it may be tight, without letting the paint clump up.
For best results, avoid cheap brushes. We like Wooster brushes, which run about $5 each and have an ergonomic, flexible handle to reduce strain on your wrist.
Use Roller to Blend Brush Marks and Cover Surfaces
You’ll want to brush the edges first and then use your foam roller to smooth out the brush strokes. This step is essential, as it will remove unsightly brush strokes.
Use a quality foam roller made for smooth surfaces to cover the rest of the cabinet doors.
(Note that if you use a paint sprayer, the brushes and rollers will be obsolete.)
Let It Dry
Following recommended dry times is essential. Don’t add another coat before it completely dries, or it’ll mess up the texture. It may feel dry to the touch, but that doesn’t mean it’s ready for a recoat.
It should specify on the paint can how long each coat needs to dry. Most latex paint cans will say that the paint is dry to the touch in 30 minutes, but you’ll need to wait at least two to four before you recoat.
But if it’s an oil-based paint or primer, you might want to play it safe and wait 24 hours before recoating.
Paint Second Coat
A second coat will help solidify the color, so the old color doesn’t bleed through. However, painting a second coat too soon could result in paint streaks, uneven color, and peeling. So while it may seem frustratingly slow, it’s vital to wait until the right time before adding another coat.
On rare occasions, you might need a third coat. A third coat might be necessary if the wood grain is heavy, like in oak cabinets, or the paint color is light. It’s best to make that judgment several hours after the second coat dries.

Let Paint Cure
The paint not only needs to dry, but it also needs to harden. This will make it more durable and less likely to get dents and scuffs when you reattach the cabinet doors.
Most importantly, don’t try to vigorously wash your cabinets until the paint has cured. Curing time varies based on the type of paint you use, but it could take anywhere from a week to two months for it to cure.
You don’t need to wait for your paint to fully cure before you put the doors up. However, you should wait between 24 and 48 hours for latex paint to start the hardening process before putting the cabinet doors back on.
Replace Doors
Once everything is sanded, painted, and dried, replace your cupboard doors with your safely stored hinges. You can use a screwdriver or power drill for this step, depending on the hinges and whether or not they need to be replaced.
Be careful not to scuff or scratch your new paint job during this process. If you’ve waited a day or two, the paint will have started to harden, but it won’t be cured fully. It’s still sensitive to blemishes.
Add a Top Coat (Optional)
Although this isn’t strictly necessary, a topcoat can add extra durability to your paint job. If you chose not to use a high-quality cabinet paint, we’d recommend adding a topcoat to maintain the finish.
Polyurethane is among the cheapest and easiest topcoats to apply. You can purchase it in a can and apply it with a foam brush or use a spray can. Furniture wax is another simple and affordable option.
Note that some topcoats can give your paint a yellowish tint. Do your research carefully to choose a finish that won’t distort your paint colors.
Enjoy Your Freshly Painted Cabinets!
Air out your kitchen to get the paint smell out, and wipe things down. Then, sit back and enjoy your hard work. You can throw some vinyl backsplash up if you have any energy left or just set out some flowers to complete the look.
Either way, a painted RV kitchen is an impressive accomplishment and one you can enjoy for years.
Have you painted your RV cabinets? Do you have any tips or products you’d like to share?
Last update on 2024-10-20 / Affiliate links / Images from Amazon Product Advertising API